How to Create, Edit, and Delete Registry Keys and Values
How to Create, Edit, and Delete Registry Keys and Values?
The Registry Editor is referred to as the "heart" of the Windows operating system. It stores information about installed programs and hardware, including information about their settings, options, and other values. If you are a typical user, you will avoid using Registry Editor. However, if you are an expert and are familiar with Windows advanced settings, you will understand how to use it.
Occasionally, in order to resolve certain errors, you must add or delete a subkey or value in the Registry editor. Whatever we are doing, whenever we are asked to modify the Registry Editor, we feel a little intimidated. As is frequently stated, a single minor error in Registry Editor can ruin everything and render your computer inoperable.
Not to worry; if you follow the steps carefully and understand what you're doing, you can resolve some of the most common computer problems without the assistance of an expert.
We will walk you through the steps necessary to add, modify, and delete Registry keys and values in Registry Editor in this post.
Note: The procedure for editing the Registry Editor is the same regardless of the version of Windows you are running.
Create a backup first
Even if you work meticulously and follow all instructions precisely, a small error can render your computer inoperable. Thus, maintaining a backup of the registry settings is the best way to deal with any errors. To create a backup of the registry files, perform the following steps:
• In the Search bar beside the Start menu, type Regedit.
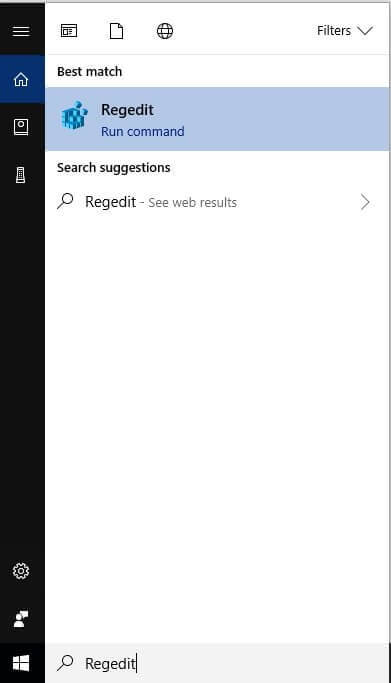
• A prompt will appear; click Yes to open Registry Editor.
• Now, locate the File menu in the Registry Editor window's top right corner.
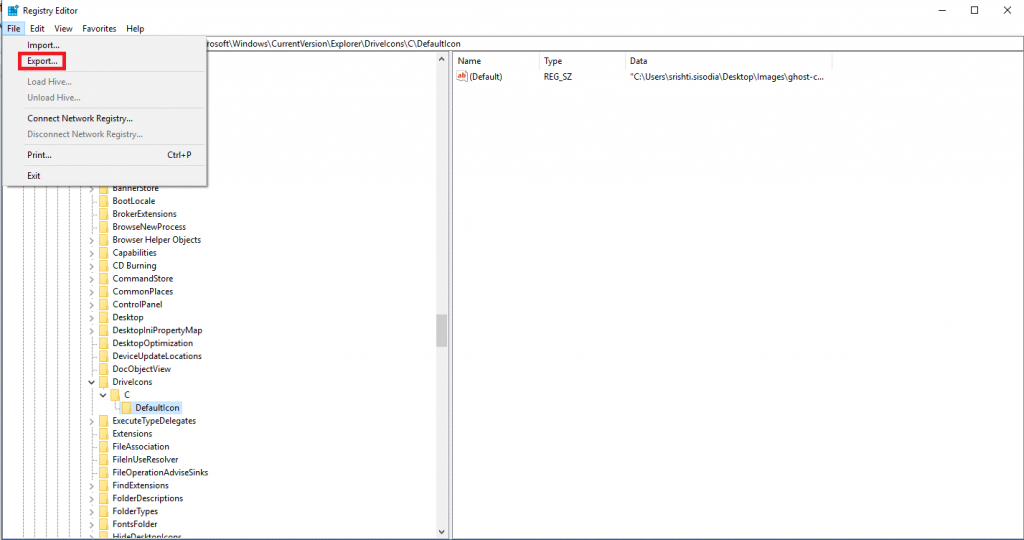
• Select Export.
• It will prompt you for the location of the backup file.

• Browse to the desired location, type the file's name, and click Save.
This way, you can save the registry settings prior to proceeding.
Procedures for Adding Registry Keys and Values
Adding new Registry Keys and Values can be used to resolve an issue or as a workaround. The following are the steps for creating new Registry Keys and Values:
• In the Search bar beside the Start menu, type regedit.
• A prompt will appear; click Yes to open Registry Editor.
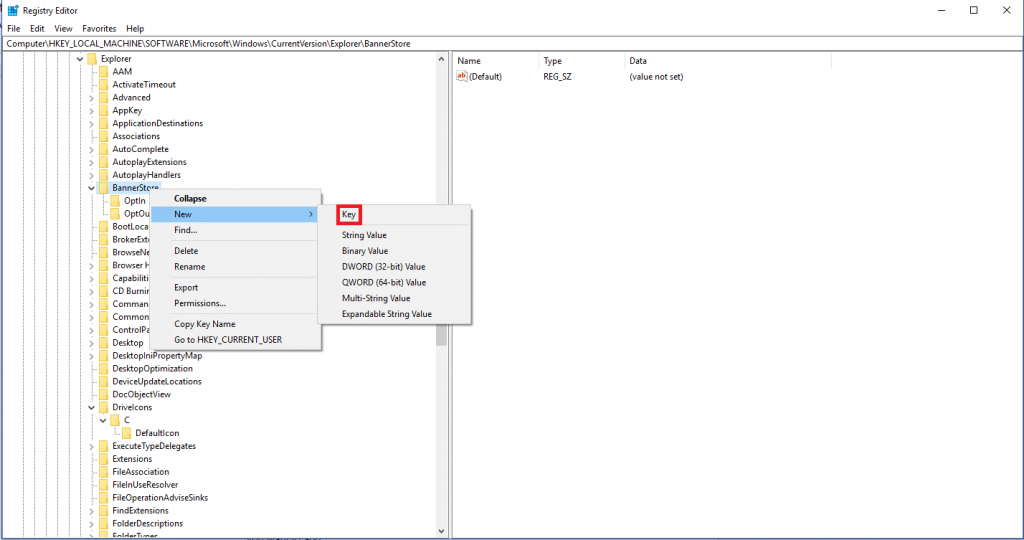
• Navigate to the registry key to which you want to add a key, subkey, or value using the left-hand side panel of Registry Editor.
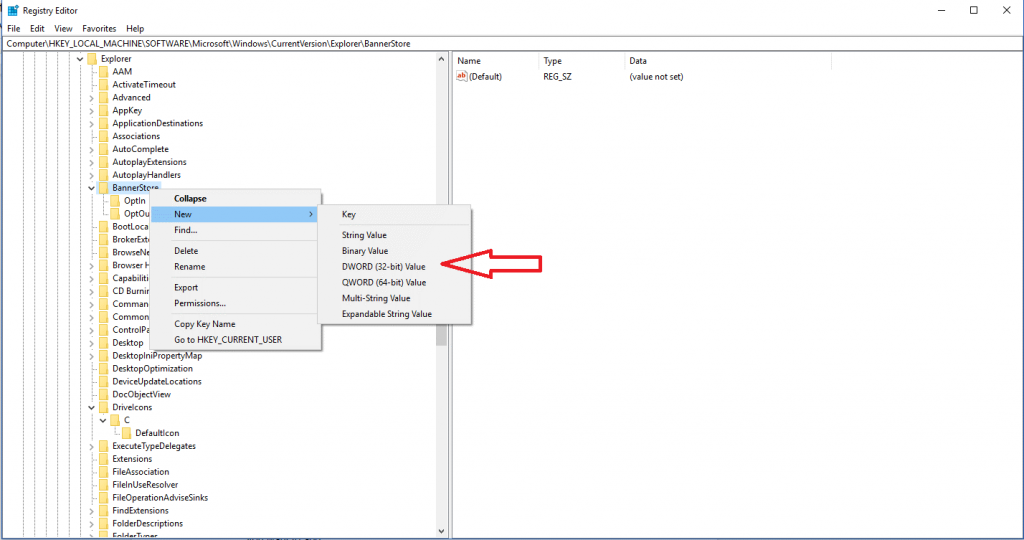
• Right click on the registry key to which you wish to add a subkey as you locate it. Select New-> Key from the context menu. Enter the registry key's name.
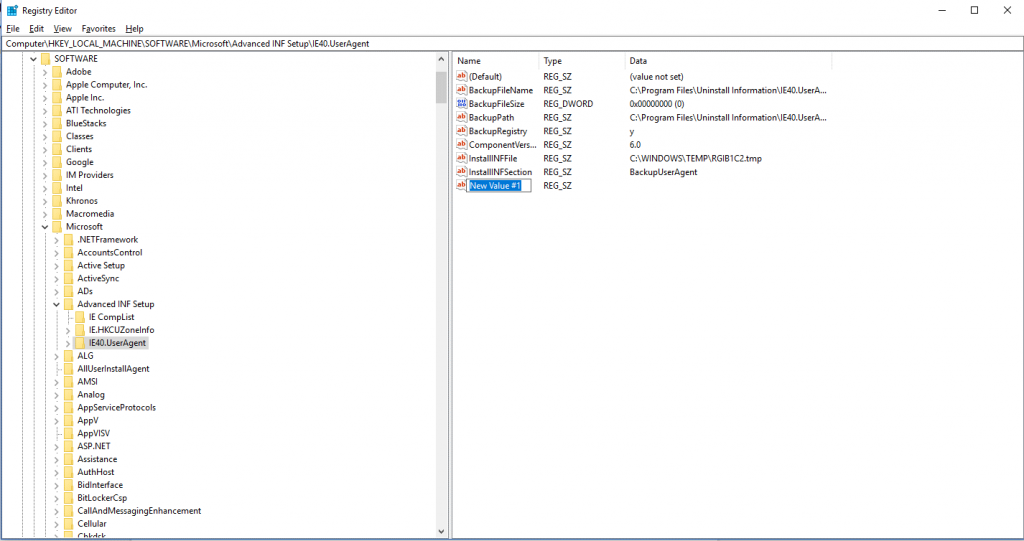
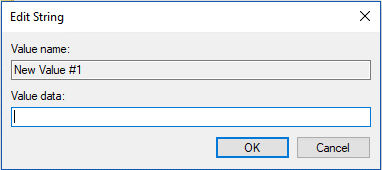
• To create a value, right-click on the registry key and select New-> Value Type. Enter the value's name. Now, double tap to open the newly created value and modify the "Value data" field.


• Once the task is complete, close the Registry Editor window.
• Reboot your computer to apply the changes.
Note: Creating a subkey or adding a value will not necessarily affect your computer, but modifying one will, so proceed with caution.
Procedures for Renaming and Modifying Registry Keys and Values
Not only can you add subkeys or values to a registry key, but you can also rename or modify it.
The following sections discuss the possible modifications to existing keys and values in the Windows Registry:
• In the Search bar beside the Start menu, type Regedit.
• A prompt will appear; click Yes to open Registry Editor.
• Navigate to the registry key you wish to rename or modify on the left-hand side panel of Registry Editor.
• To rename the key, right-click on it and select Rename. Enter the new name.
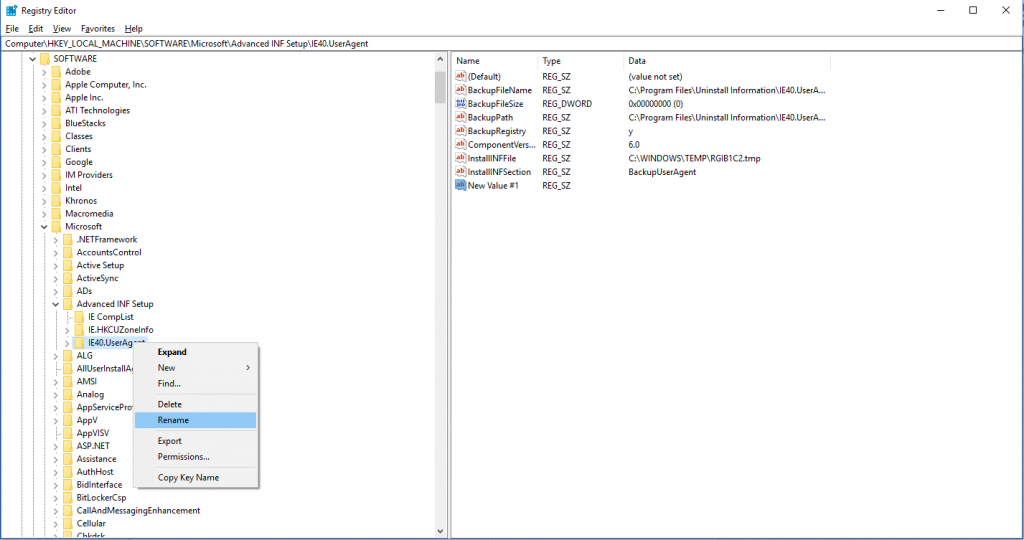
• To rename a registry value, right-click on it in the right-hand panel and select Rename. Enter a new name for the registry value.
• To modify the data associated with a Registry value, locate it on the right-hand side and right-click or double-click on it. From the context menu, choose Modify. You will be presented with a small window; under Value Data, enter a value and then click OK.
• Once the task is complete, close the Registry Editor window.
• Reboot your computer to apply the changes.
Note: While you may not need to restart your computer to see the changes take effect, it is always a good idea to do so to ensure that the changes take effect.
Procedures for Deleting SubKeys and Registry Values
Occasionally, you may need to delete a subkey or value to resolve an issue. Prior to deleting keys or values, it is critical to verify that you have backed up the Registry settings. Once you are certain that you have a backup, you can delete a subkey or value by following these steps:
• In the Search bar beside the Start menu, type regedit.
• A prompt will appear; click Yes to open Registry Editor.
• Navigate to the registry key->subkey that you wish to delete using the left-hand side panel of Registry Editor.
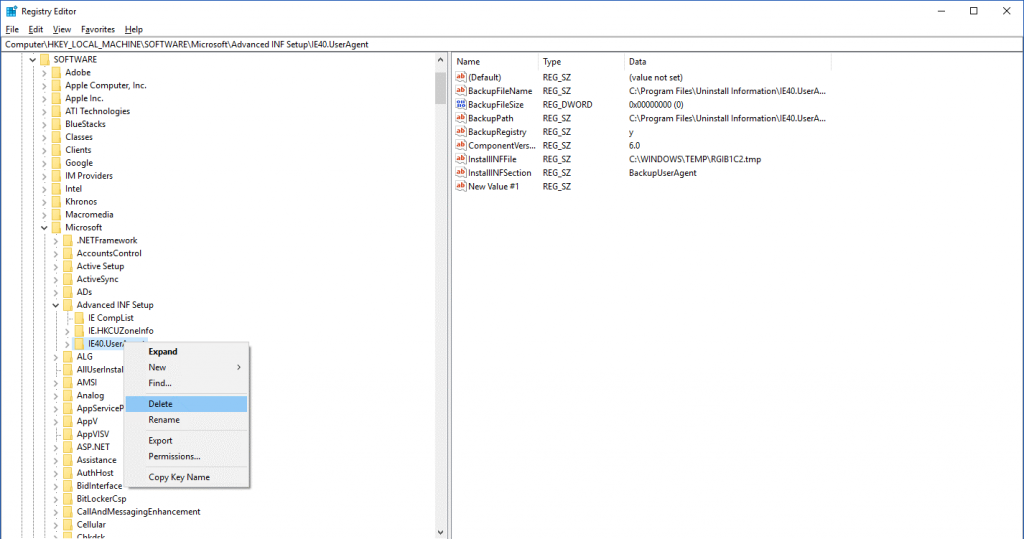
• Right-click on the key and select Delete from the context menu to delete it.
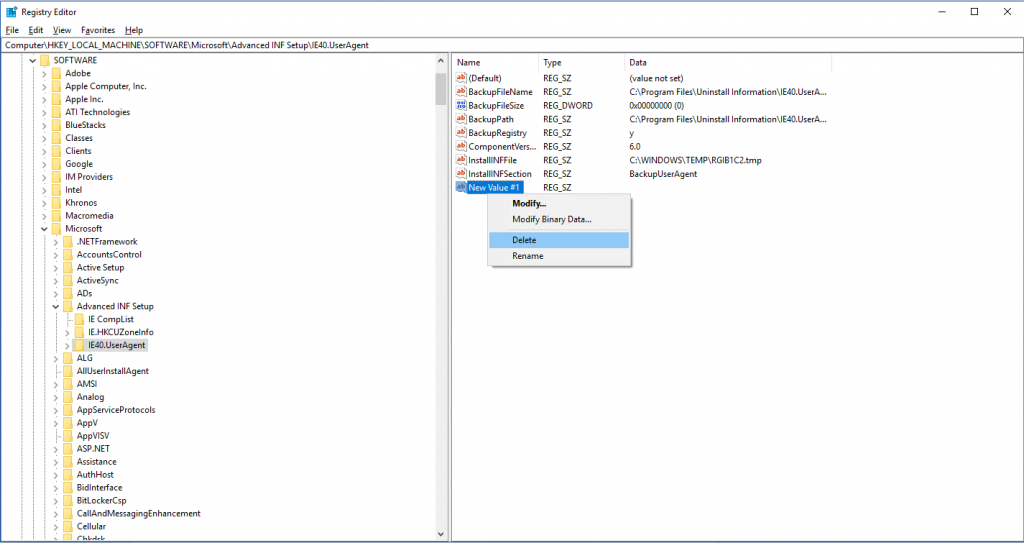
• To delete a value, locate it on the right-hand side of the window and right-click on it. From the drop-down menu, select Delete.
• A prompt will appear with the warning, "Deleting certain registry values may result in system instability." Are you certain you want to delete this value permanently? ' (Windows 10)
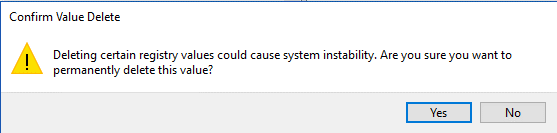
Note: The language of the warning message may vary between Windows versions.
• Click Yes to confirm the deletion of the value.
• Restart the computer to apply the changes.
This way, you can modify, add, rename, and delete registry subkeys or values manually to resolve certain issues. If you prefer not to do it manually, you can use third-party software to automate the process. Advanced PC Cleanup is one of the best pieces of software because it eliminates the hassle of carefully following the steps to work on the Registry Editor and resolving the issue on your own. This software will optimize your PC's performance in a few simple steps by removing invalid registry entries. Consider the following features of Advanced PC Cleanup:
• Advanced PC Cleanup focuses on invalid registry removal by scanning the system and displaying the results in a scan result. You can remove them all with a single click and significantly improve your computer's performance.
• It corrects error messages that may result in a crash and also deals with out-of-date information in the Windows registry.
Thus, with Advanced PC Cleanup installed on your computer, resolving registry issues may be a piece of cake. You can either follow the steps below to add, modify, or delete Registry keys and values manually or use registry cleaning software to do so. Please give it a try and report back on how it worked for you!
Image Source: WTG

