How to Generate a Quick Resume from Your LinkedIn Profile
If you have your work experience already listed on your LinkedIn profile, it is easy to enable the site to automatically generate for you a resume. Here is how to do it.
How You Can Generate a Resume from Your LinkedIn Profile
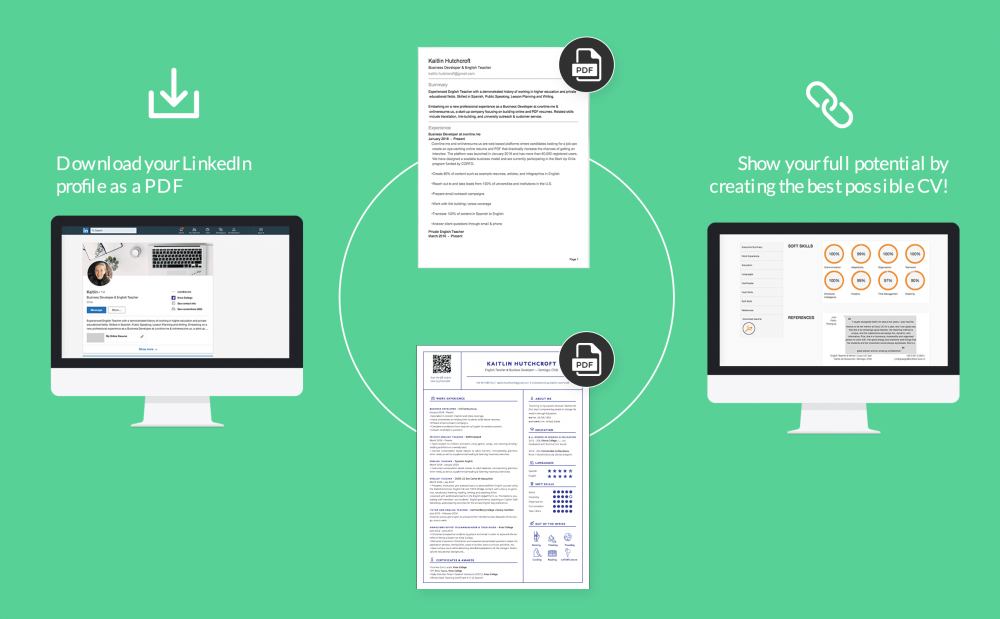
All of the profiles in LinkedIn include a button to allow you download the profile as a PDF. This PDF is basically known as your resume, it contains all the experiences that you have listed on LinkedIn. This includes your academics, your work experiences, and every other thing else that you have on your profile.
1. If you want to download this quick resume, first, open the LinkedIn in a web browser on your computer. When you have opened the LinkedIn, tap your profile icon at the top of the site and choose “View Profile.”
2. After clicking on the "View Profile" button on the LinkedIn site. On the profile page, that is right beneath your profile picture, now tap the “More” option, and choose “Save to PDF.”
3. In less than a few moment, your browser will start to download your resume PDF from LinkedIn. Downloaded LinkedIn resume in any of the web browser you choose.
That is all about generating a quick automatic resume from the LinkedIn, but you might also not want to send it exactly as it comes to potential employers. In that case, you can check out the section below.
Generating a Customized Resume from Your LinkedIn Profile
The resume that you have downloaded above contains all the information that you have stored on your LinkedIn profile. If you need to add, edit, or delete any certain sections of the resume, simply use the LinkedIn’s resume creation tool. It allows you select the sections you want to include in or you want to exclude from your resume. When you are satisfied with the result, you can now download it as a PDF straight to your computer.
1. To begin building your custom resume, first, open the LinkedIn page in your web browser. On the LinkedIn page, tap your profile icon at the top-right corner and then choose “View Profile.”
2. Now on the profile page, in the section at the top, choose “More,” and then you tap “Build a resume.” This will launche LinkedIn’s resume creation tool in the browser.
3. In the section of “Select a Resume” pop-up that appears, tap on the “Create From Profile” button at the bottom.
4. In the following box that you see “Choose your desired job title,” just tap the “Job Title” box, and then you enter your current job title. Then, you choose a title from the suggested options and then you tap “Apply” at the bottom.
5. You are now on the LinkedIn’s resume creation tool screen. Here, you are allowed to add and exclude any information you want in your resume. To add or to remove a section in the resume, just tap the pencil icon you see next to a section on the page.
6. The site will be opened, you'll see a box with your selected section in it. Here, you are allowed to modify the contents of your section and tap the “Save” at the bottom of the box to save your changes. Or, you can tap on the “Delete” button to remove this section from your resume altogether.
7. When you have finished editing your resume, just tap on the “Preview” at the top of the LinkedIn site to preview your resume.
8. If you are satisfied with the result, you can click “More” at the top of the LinkedIn site, and then choose “Download as PDF.” Your resume will be downloaded as a PDF to your computer.
You are all set.

