
How To Fix When Windows Restarts After Shutdown
How to Fix When Windows Restarts After Shutdown
Have you ever experienced your Windows PC restarting when you attempted to shut it down? It's inconvenient when your computer shuts down and quickly restarts. In my opinion, it should not be a war between you and your computer.
Hard resets and power cord disconnecting should not be routine. Forced shutdowns significantly increase the likelihood of file corruption.
When my PC began performing strangely, I sought around for a solution. However, I soon understood that there is no one-size-fits-all approach. I've listed each approach and described the corresponding repair. After implementing the strategy, restart your computer to verify that it worked. If that does not work, move on to the next one.
Disabling Fast Startup
1. To begin, navigate to the Start Menu. Enter power settings to open the Power & sleep settings panel.

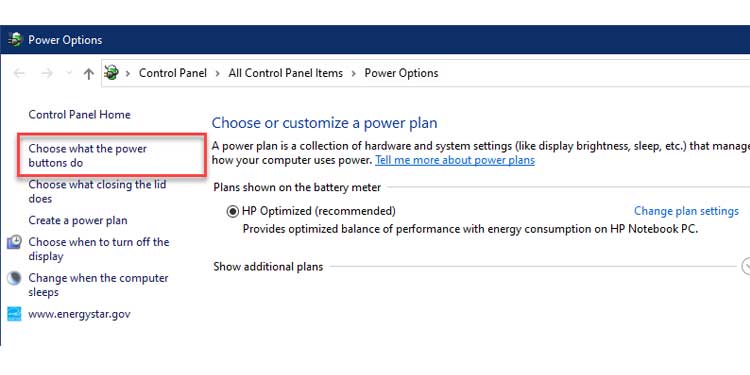
2. Continue scrolling until you reach Related settings. To open the Power Options window, click on Additional power settings.

3. In the left navigation pane, click on Determine the function of the power buttons.
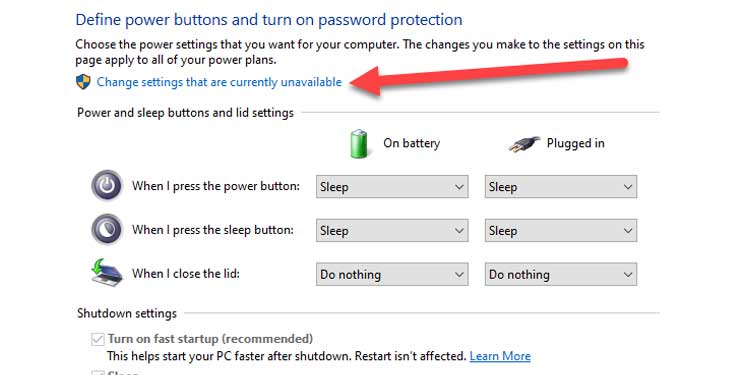
4. As indicated below, click on Change options that are currently unavailable. This restores the previously disabled shutdown settings.
5. Under Shutdown settings, uncheck the button next to Enable rapid startup.
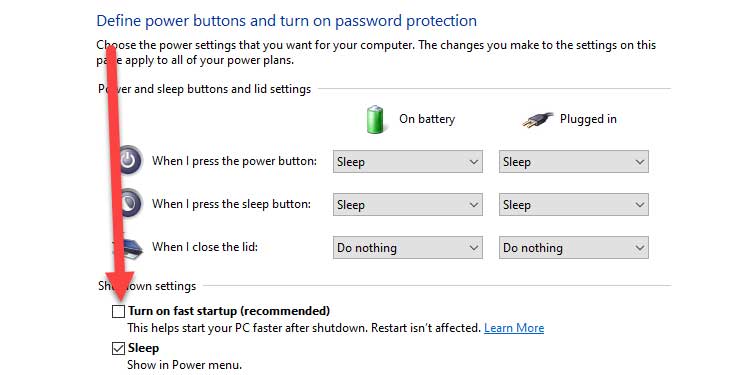
6. Select Save changes and attempt to shut down your computer.
Tip: When rapid startup is disabled, it is natural to encounter lengthier boot times than usual.
Disabling Automatic Restart Due to Crash
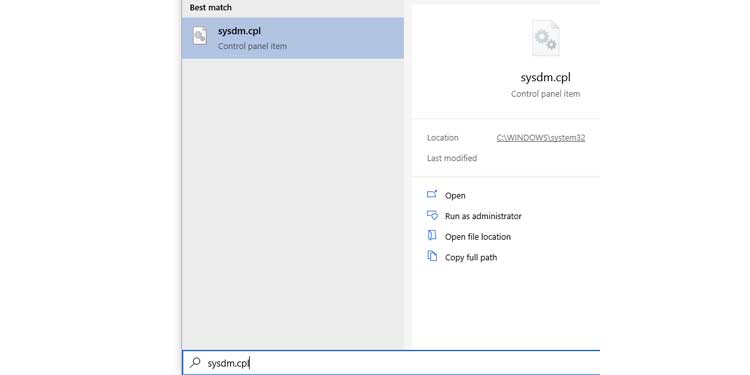
1. To begin, navigate to the Start Menu. To open the System properties window, type sysdm.cpl and click Enter.
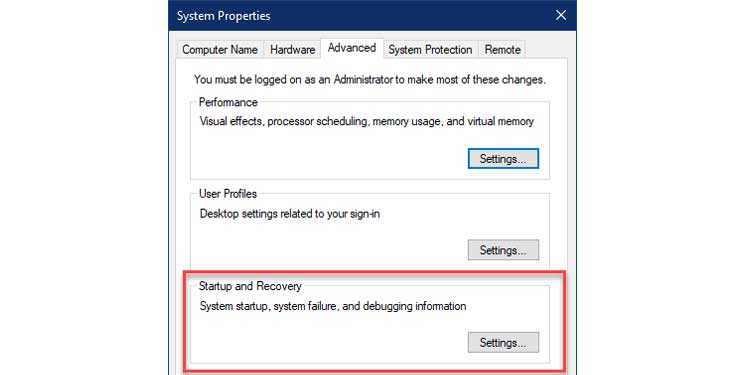
2. Navigate to the Advanced tab.
3. Click on Settings under Startup and Recovery to open the Startup and Recovery box.
4. Uncheck the Automatically restart option in the System failure section.
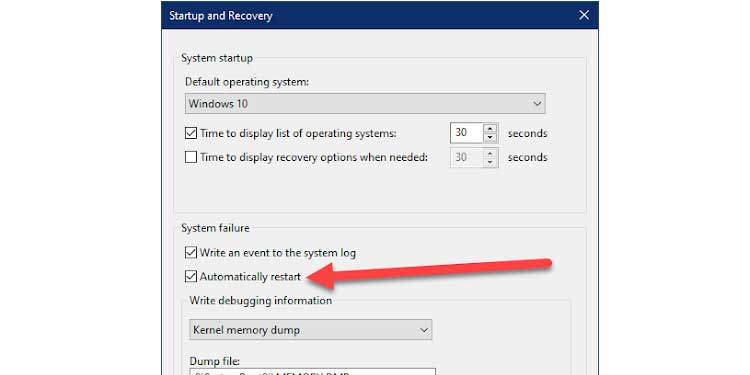
5. Click OK to apply the changes.
Note: The problem we're aiming to resolve here is that Windows crashes while attempting to shut down. When you click on power off, Windows may crash without warning. As a result of this setting, the PC attempts to restart, giving the appearance of restarting when shut off.
Enabling Powerdown after shutdown Option in Registry Editor
1. To begin, navigate to the Start Menu. By typing regedit and pressing Enter, the Registry Editor window is opened.

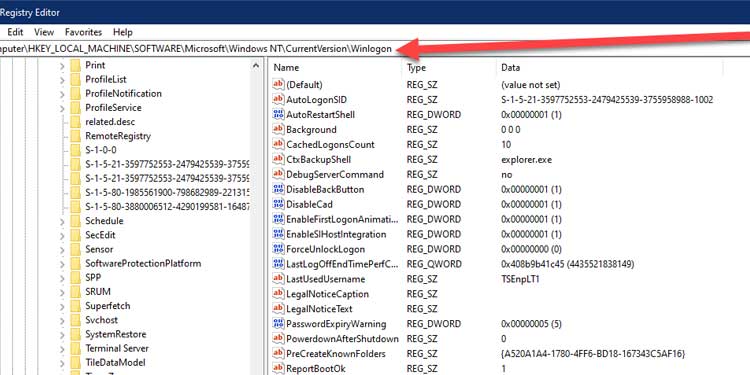
2. Locate the following page using the navigation pane or location browser at the top:
Computer\HKEY LOCAL MACHINE\SOFTWARE\Microsoft\WindowsNT\CurrentVersion\Winlogon
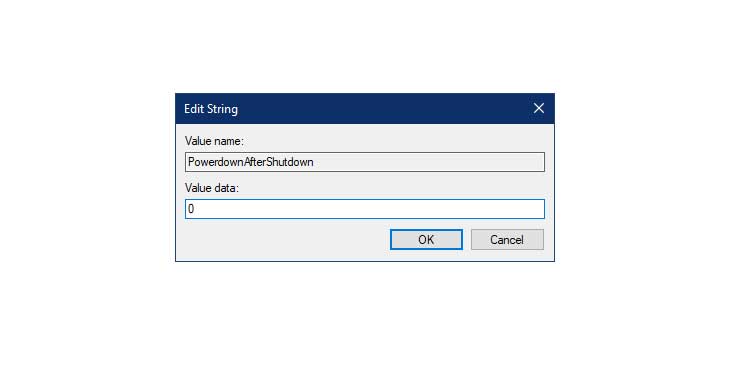
3. Double-click the following configuration PowerdownAfterShutdown.
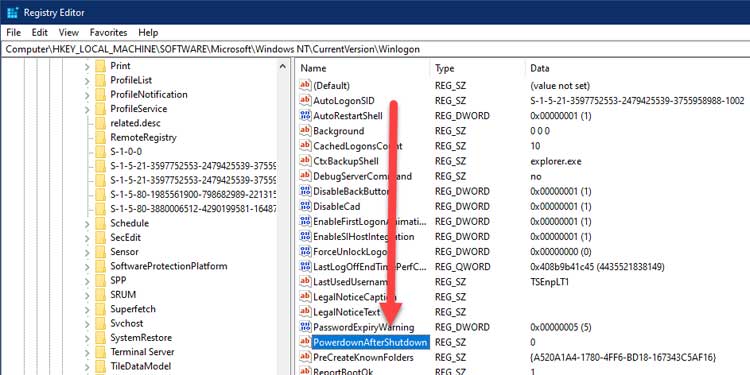
4. Change the existing value of 0 to 1 in the Value data box and click OK.
5. Restart the computer to apply the modifications.
Using System File Checker
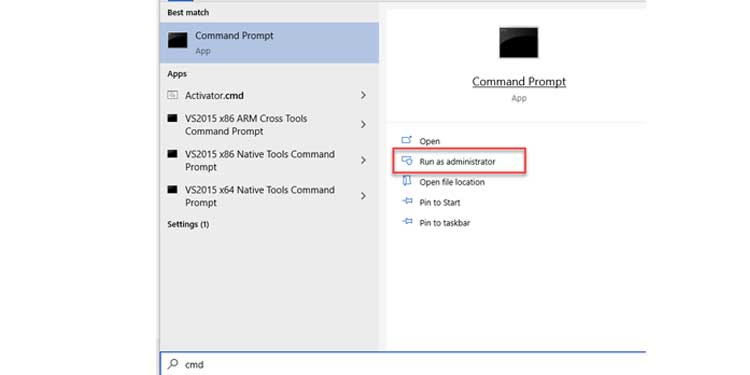
1. To begin, navigate to the Start Menu. Type cmd and then select Run as Administrator to bring up the elevated Command prompt.
2. Type the following command to initiate and repair corrupted system files: sfc /scannow.

3. Wait for the Verification to reach 100% completion.
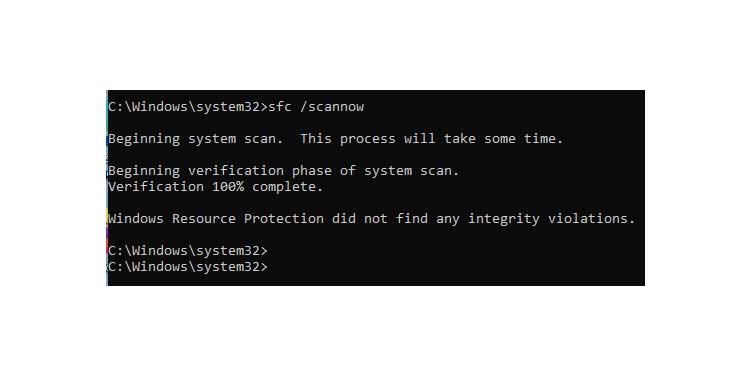
4. The Sfc(System File Checker) utility checks for flaws in all protected system files. It then replaces any corrupted files with a cached copy of the original. At the conclusion of the operation, it generated a log file informing you whether any corrupted files were discovered. If these corrupted files were the cause of the system restarting, sfc should have resolved the issue.
Tip
If sfc does not detect any corrupted files, the same message as in the screenshot above is displayed.
Disabling Network Adapter From Waking Up the Computer
1. To open the Device Manager window, right-click on the Start Menu and select Device Manager.

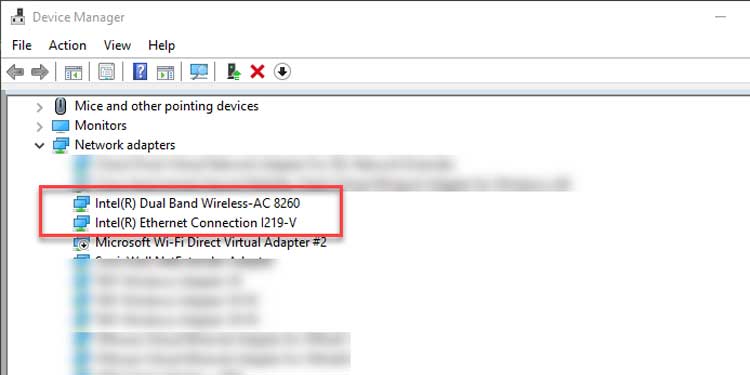
2. Expand the Network adapters list and locate the PC's network adapter.
3. If the connection is wired, look for Ethernet Connection. If the connection is wireless, look for Intel Wireless.
4. Double-click the adapter icon to open the adapter's properties window.
5. Navigate to the power management tab and clear the check box. Allow this device to wake the computer is a setting that can be enabled.
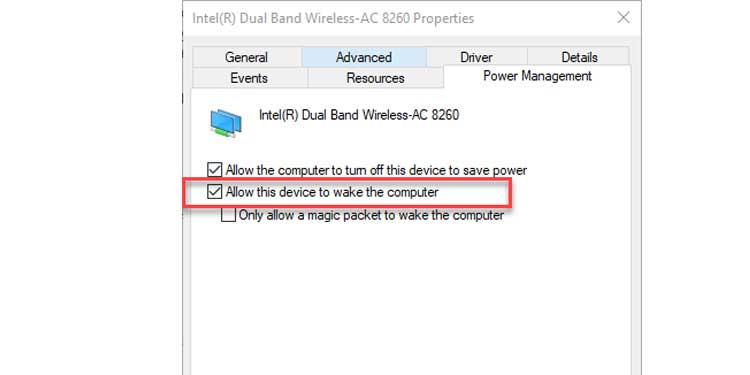
6. Click the OK button to exit and save your changes.
7. Repeat for each additional network adapter (s).
Updating Windows
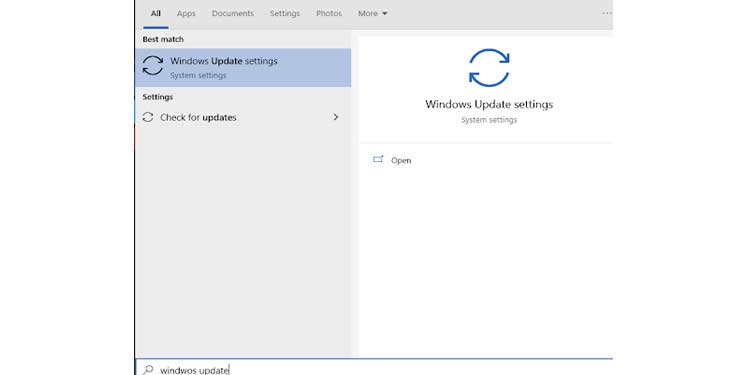
1. To begin, navigate to the Start Menu. To bring up the windows update settings window, type Windows Update and click Enter.
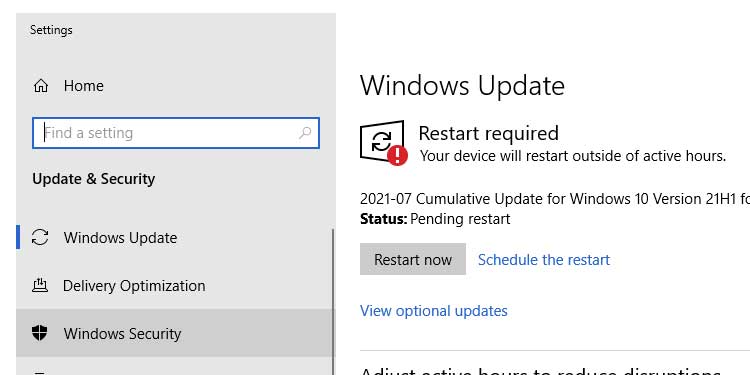
2. Click on Check for updates to locate and install any available updates.
3. Click Restart Now to restart your computer.
Occasionally, an operating system issue can force the computer to restart after shutdown. Maintaining current Windows updates ensures that the system is protected from known issues and crashes. Not only that, but software updates also address any faulty drivers or system issues.
Forcing a Shutdown
1. To begin, navigate to the Start Menu. Type cmd and then select Run as Administrator to bring up the elevated Command prompt.
2. Type the command shutdown /s /f /t 0 to promptly shut down the machine.

Note: Occasionally, the standard shutdown option from the start menu will not work. Generally, forcing a command-line shutdown stops windows from restarting in such instances.
Going Into Safe Boot Mode
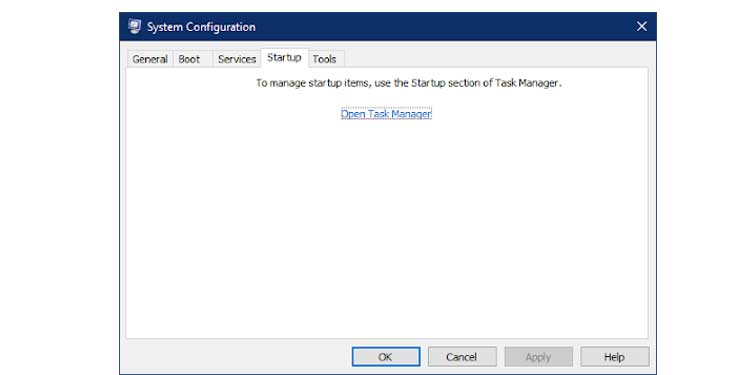
1. To begin, navigate to the Start Menu. By typing msconfig and pressing Enter, the System Configuration menu will appear.
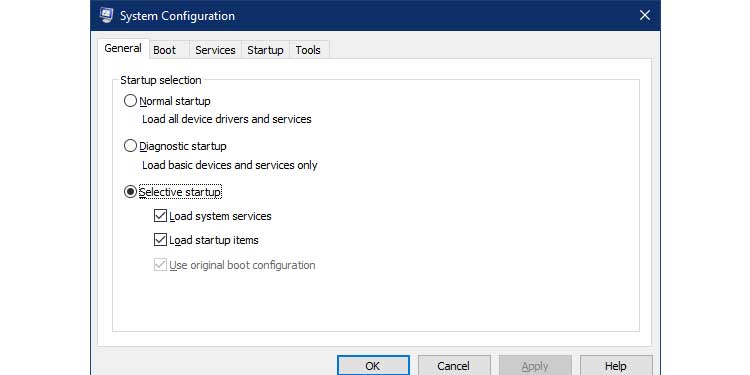
2. Select the Boot tab.
3. Select Safe boot and set the option to minimal under Boot options.
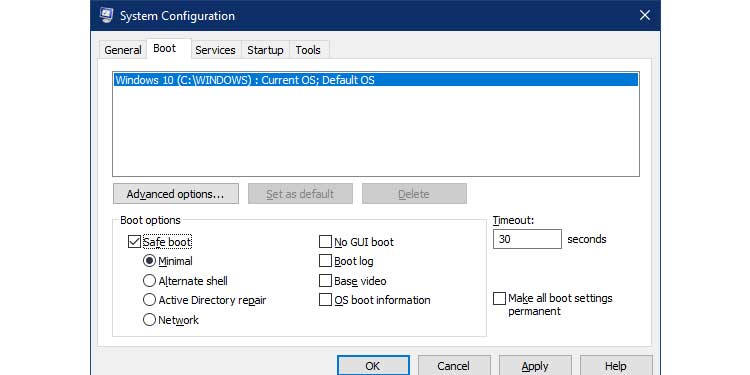
4. Restart the computer by clicking OK.
5. From within safe mode, shut down the machine.
Note
Technically, a safe mode is not a fix. It will assist you in determining whether a background service or process is responsible for your system restarting. The safe boot option accomplishes two objectives. To begin, it boots the computer with minimal settings.
Two, it disables all third-party drivers and services that have been installed. If you can safely exit safe mode without encountering any issues, the issue is most likely with a starting process. Utilize the following strategy to identifying and resolving the issue.
Performing a Clean Boot
1. To begin, navigate to the Start Menu. By typing msconfig and pressing Enter, the System Configuration menu will appear.
2. Navigate to the Services tab.
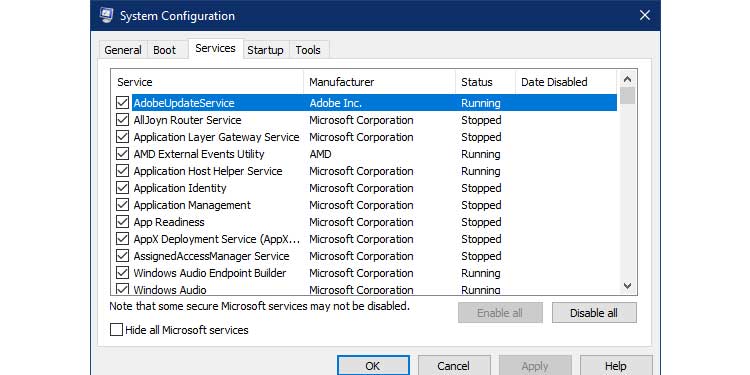
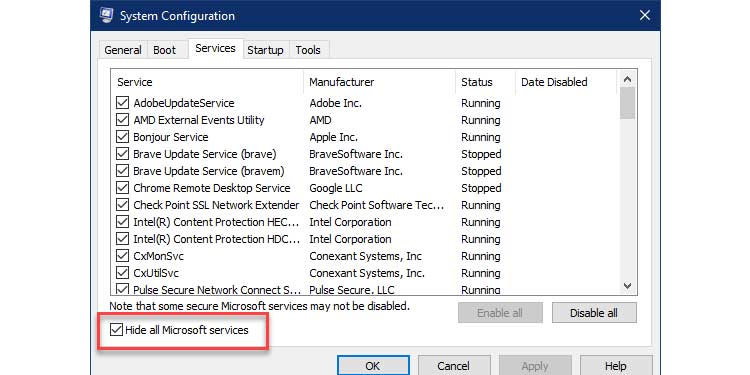
3. Uncheck the option labeled Hide all Microsoft services, as seen below.
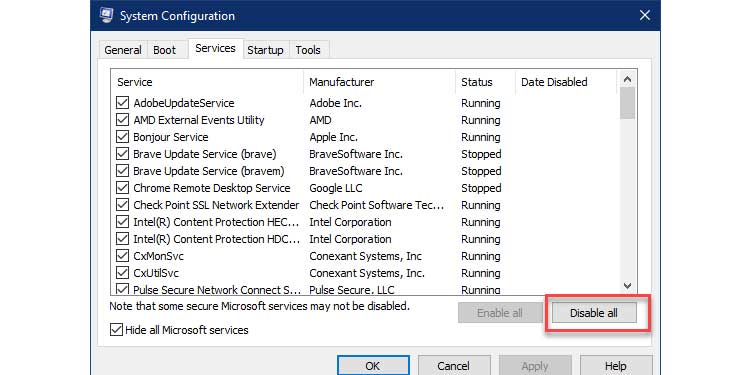
4. To disable all active services, click the Disable all option.
5. Click on the Startup tab and then on Access Task Manager to open the Task Manager's Startup page.
6. Right-click an application process and select deactivate from the context menu.
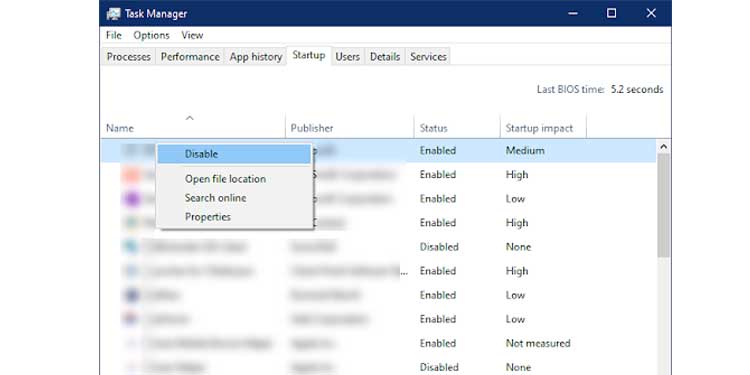
7. Repeat this procedure for each application process on the list.
8. Restart the computer to force a clean boot.
9. Shut down the computer from the clean boot environment.
Note
As with safe mode, a clean boot does not always resolve the issue. However, it will assist you in determining whether any third-party vendor applications are causing a system failure. If shutting down successfully from a clean boot, enable one or a few applications at a time and retry.
Rep until you've identified the application that's been causing you grief the entire time.
Performing System Reset
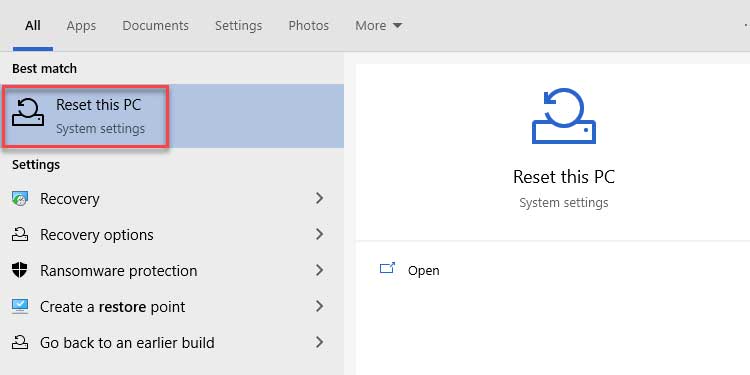
1. To begin, navigate to the Start Menu. To open the Recovery Settings window, type System Restore.
2. In the section Reset this PC, click Get started.
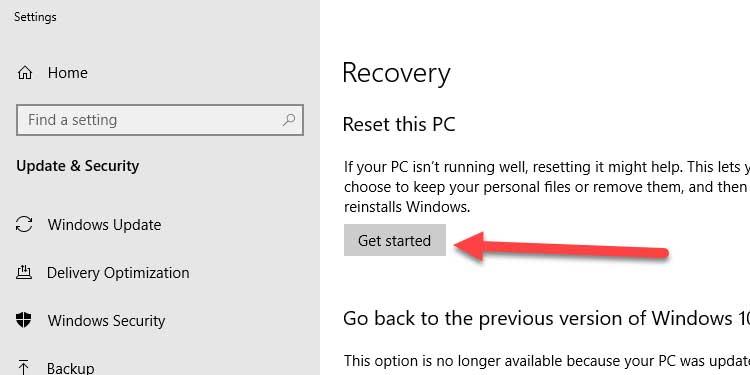
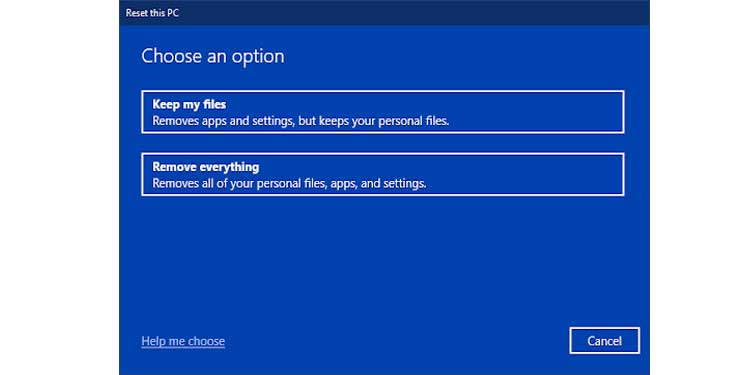
3. Select Keep my files and wait a moment.
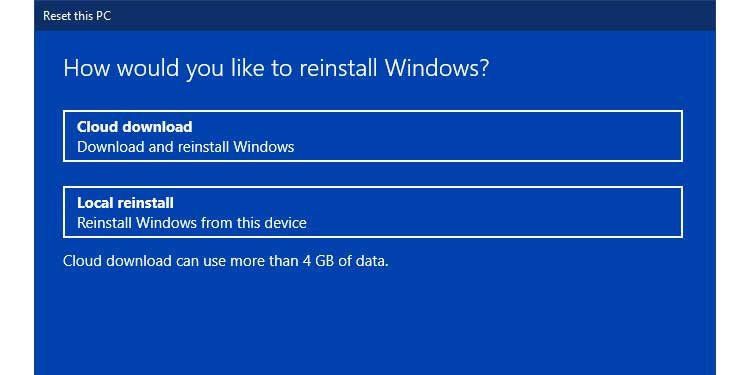
4. If your Internet connection is active, click on Cloud download.
5. Click on Local reinstall if you do not have an active Internet connection.
6. Wait for the reset procedure to complete and the computer to restart.
If you are unable to locate the issue, you always have the option of rolling back or resetting your computer using this procedure. Once completed, verify that it worked by powering off your computer. If not, repeat Step 3 above by selecting Remove everything and continuing with the next steps.

