How To Make A Calendar In Microsoft Word
How to Make a Calendar in Microsoft Word
Even though Microsoft Word is well-known for its word-processing capabilities, it can also be used to create a personalized calendar. If you don't want to make one from scratch, you can use one of the calendar templates that come with Word. Here's how it's done.
Create a Calendar in Word from Scratch Using Microsoft Word
While creating a calendar from scratch in Microsoft Word takes a little more time and effort than simply using one of the templates, starting from scratch is the best option if you want to claim full ownership of your calendar's design.
For the first step, open a Microsoft Word document and insert a table by selecting the "Table" option from the "Insert" tab and selecting the "Tables" group.

A drop-down menu will appear as a result of this. Hovering your mouse over the grid will allow you to expand or contract the rows and columns of the table. As a 7-segment table is required for the calendar, place your cursor over the appropriate square in the grid and click to insert the table into the document.

It's time to start formatting the calendar after you've added the 77 table to the document. To begin, we'll change the height of the squares on the table by adjusting the distance between them. As soon as you place your cursor over the table, an icon appears in the top-left corner of the screen. It is necessary to right-click on that icon.
![]()
Then, from the "Table Properties" drop-down menu, choose "Table Properties."

The "Table Properties" window will appear as a result of this. Select the "Row" tab from the drop-down menu, check the box next to "Specify Height," and type the desired height into the text box. You can start with 2.5 cm and adjust it to your liking, or you can go even further.
Please keep in mind that depending on your location, Word may default to inches rather than centimeters. Make certain that the unit cm is included in the text box.
Once you've finished, click "OK."

This has now been accomplished by specifying the height of the boxes contained within your table. It is likely that we will need to make some adjustments to the top two rows as well. You can select the first and second rows of the table by clicking and dragging your cursor over them.
Next, reduce the height of these two rows (right-click table icon > Table Properties > Row > Specify Height) to make them slightly smaller than the rest of the rows (as shown in the image below). Ideally, the height should be 1.5 cm, but you can adjust it to your preference.

If a particular row is a little too tall for your liking, you can also click and drag it to make it a little shorter.
As soon as we've gotten the boxes in our table to the proper height, we can start entering the month's name in the top row. In order to accomplish this, we'll need to combine the cells in the top row. Choosing an area is accomplished by clicking and dragging your mouse across each cell in the top row, then right-clicking the area that has been selected.
A drop-down menu will appear as a result of this. "Merge Cells" should be selected from the drop-down menu.

The month's name should be entered in the merged cells of the top row. Make use of the alignment and font style that are most appropriate for the design you are creating.

Then, in the second row, fill in the blanks with the names of the days of the week. Format the text once more to ensure that it follows the desired style.

Finally, fill in the appropriate boxes with the number of days in the month.

To finish the calendar, repeat the preceding steps for each month of the year until it is completely filled.
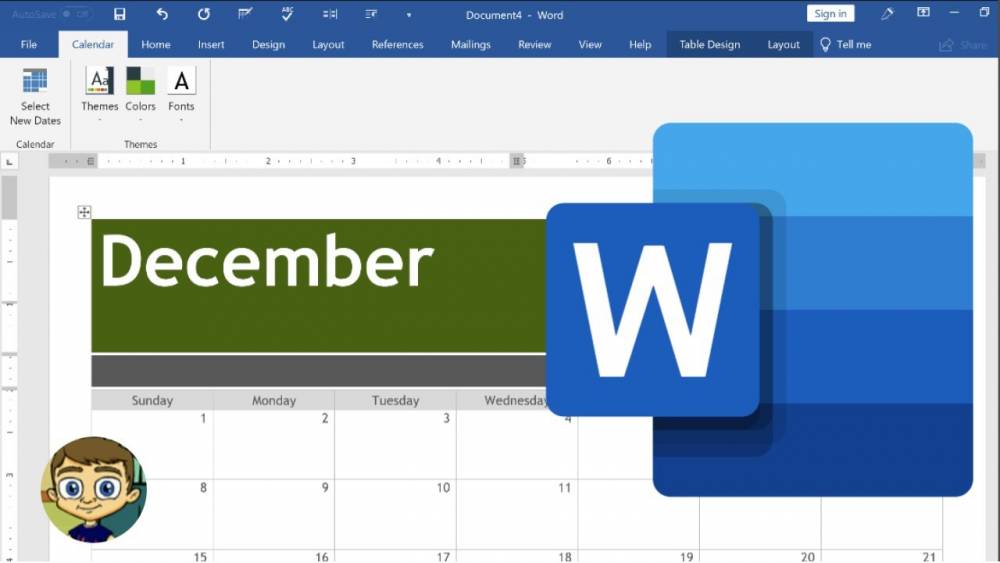
Using one of the numerous Microsoft Word templates is a good option if you want a professional-looking calendar but don't have the time to design one from scratch.
Make use of a Microsoft Word Calendar Template
Calendars are available in a variety of formats in Word. Using Microsoft Word, navigate to the left-hand pane and select one of the options. Select the "New" tab from the drop-down menu.

Then, in the search box for online templates, type "Calendar" to find the appropriate results.

Scroll through the library and select a calendar template that you like from the drop-down menu.

A pop-up window will appear, displaying a preview of the calendar as well as a description of the calendar. The "Create" button should be pressed.

Once you've chosen a calendar, you can customize its appearance by using the styling tools in Word.
Designing something like this is just one of the many options available in Microsoft Word. Microsoft's design toolset can also be used to create anything from flowcharts to brochures, depending on your needs. The likelihood is that you can complete your task in Word if you require a simple design and do not have the time or desire to learn sophisticated design software such as Photoshop.

