How To Permanently Disable All App Updates On The Google Play Store Without The Use Of A Computer
Permanently Disable All App Updates on the Google Play Store
While app updates add new functionality, they also have the potential to break existing features or introduce changes that no one wants. Unfortunately, if you continue to use an older version of an app because you refuse to accept the update, it becomes much more difficult to keep the rest of your apps updated.
While you could navigate to the app's Play Store page and disable the "Automatic Updates" setting, this will have unintended consequences. If you ever navigate to the My Apps section of the Play Store and click "Update All," you'll be prompted to update the app in question, and it's easy to make the incorrect selection. Additionally, you'll see a constant notification in the My Apps section that an update is available.
Another option is to disable automatic updates entirely, but this will require you to constantly check for updates for all your other apps and will require you to avoid the "Update All" button.
Previously, the only permanent solutions to this problem required root access or modification of your computer's APK files, but neither of these is an option for everyone. You can permanently disable automatic updates using the method outlined below, and you can do so from the comfort of your phone.
Before You Begin
This method should prevent any user-installed app from being updated on the Play Store, but it will not prevent pre-installed apps from being updated unless you are rooted.
The gist of it is that you'll be re-sideloading an app signed by you. Because Android will not install a different-signed app on top of another (even if everything else is identical), you'll need to uninstall the official version of the app first and then reinstall it to avoid updates.
As a result, the only way to prevent system app updates is to uninstall the official version. That is only possible if you are rooted (and it is as simple as deleting the APK file from /system/app/ or /system/priv-app/).
However, if you're doing this for a self-installed app, root is not required.
Step 1:Install the Version of the App You Wish to Keep
The first step is to obtain the full version of the app you wish to keep indefinitely. If you've been avoiding updates and already have the version in question installed, skip to Step 2.
If you've already updated, you'll need to uninstall the updated version first. Install the version you want to keep from there. A great way to locate older versions of an app is to search for it on APKMirror and then sideload the older APK.
Step 2: Install Two New Applications
To complete this task entirely on your phone, you'll need two apps. The first tool is called APK Extractor, and it will extract a copy of the app version you wish to keep installed. You'll use the second app, APK Signer Orijinal, to prevent the app from updating.
To download both of these apps, search for them in the Play Store by name.
Step 3: Extract the Version of the APK You Wish to Keep
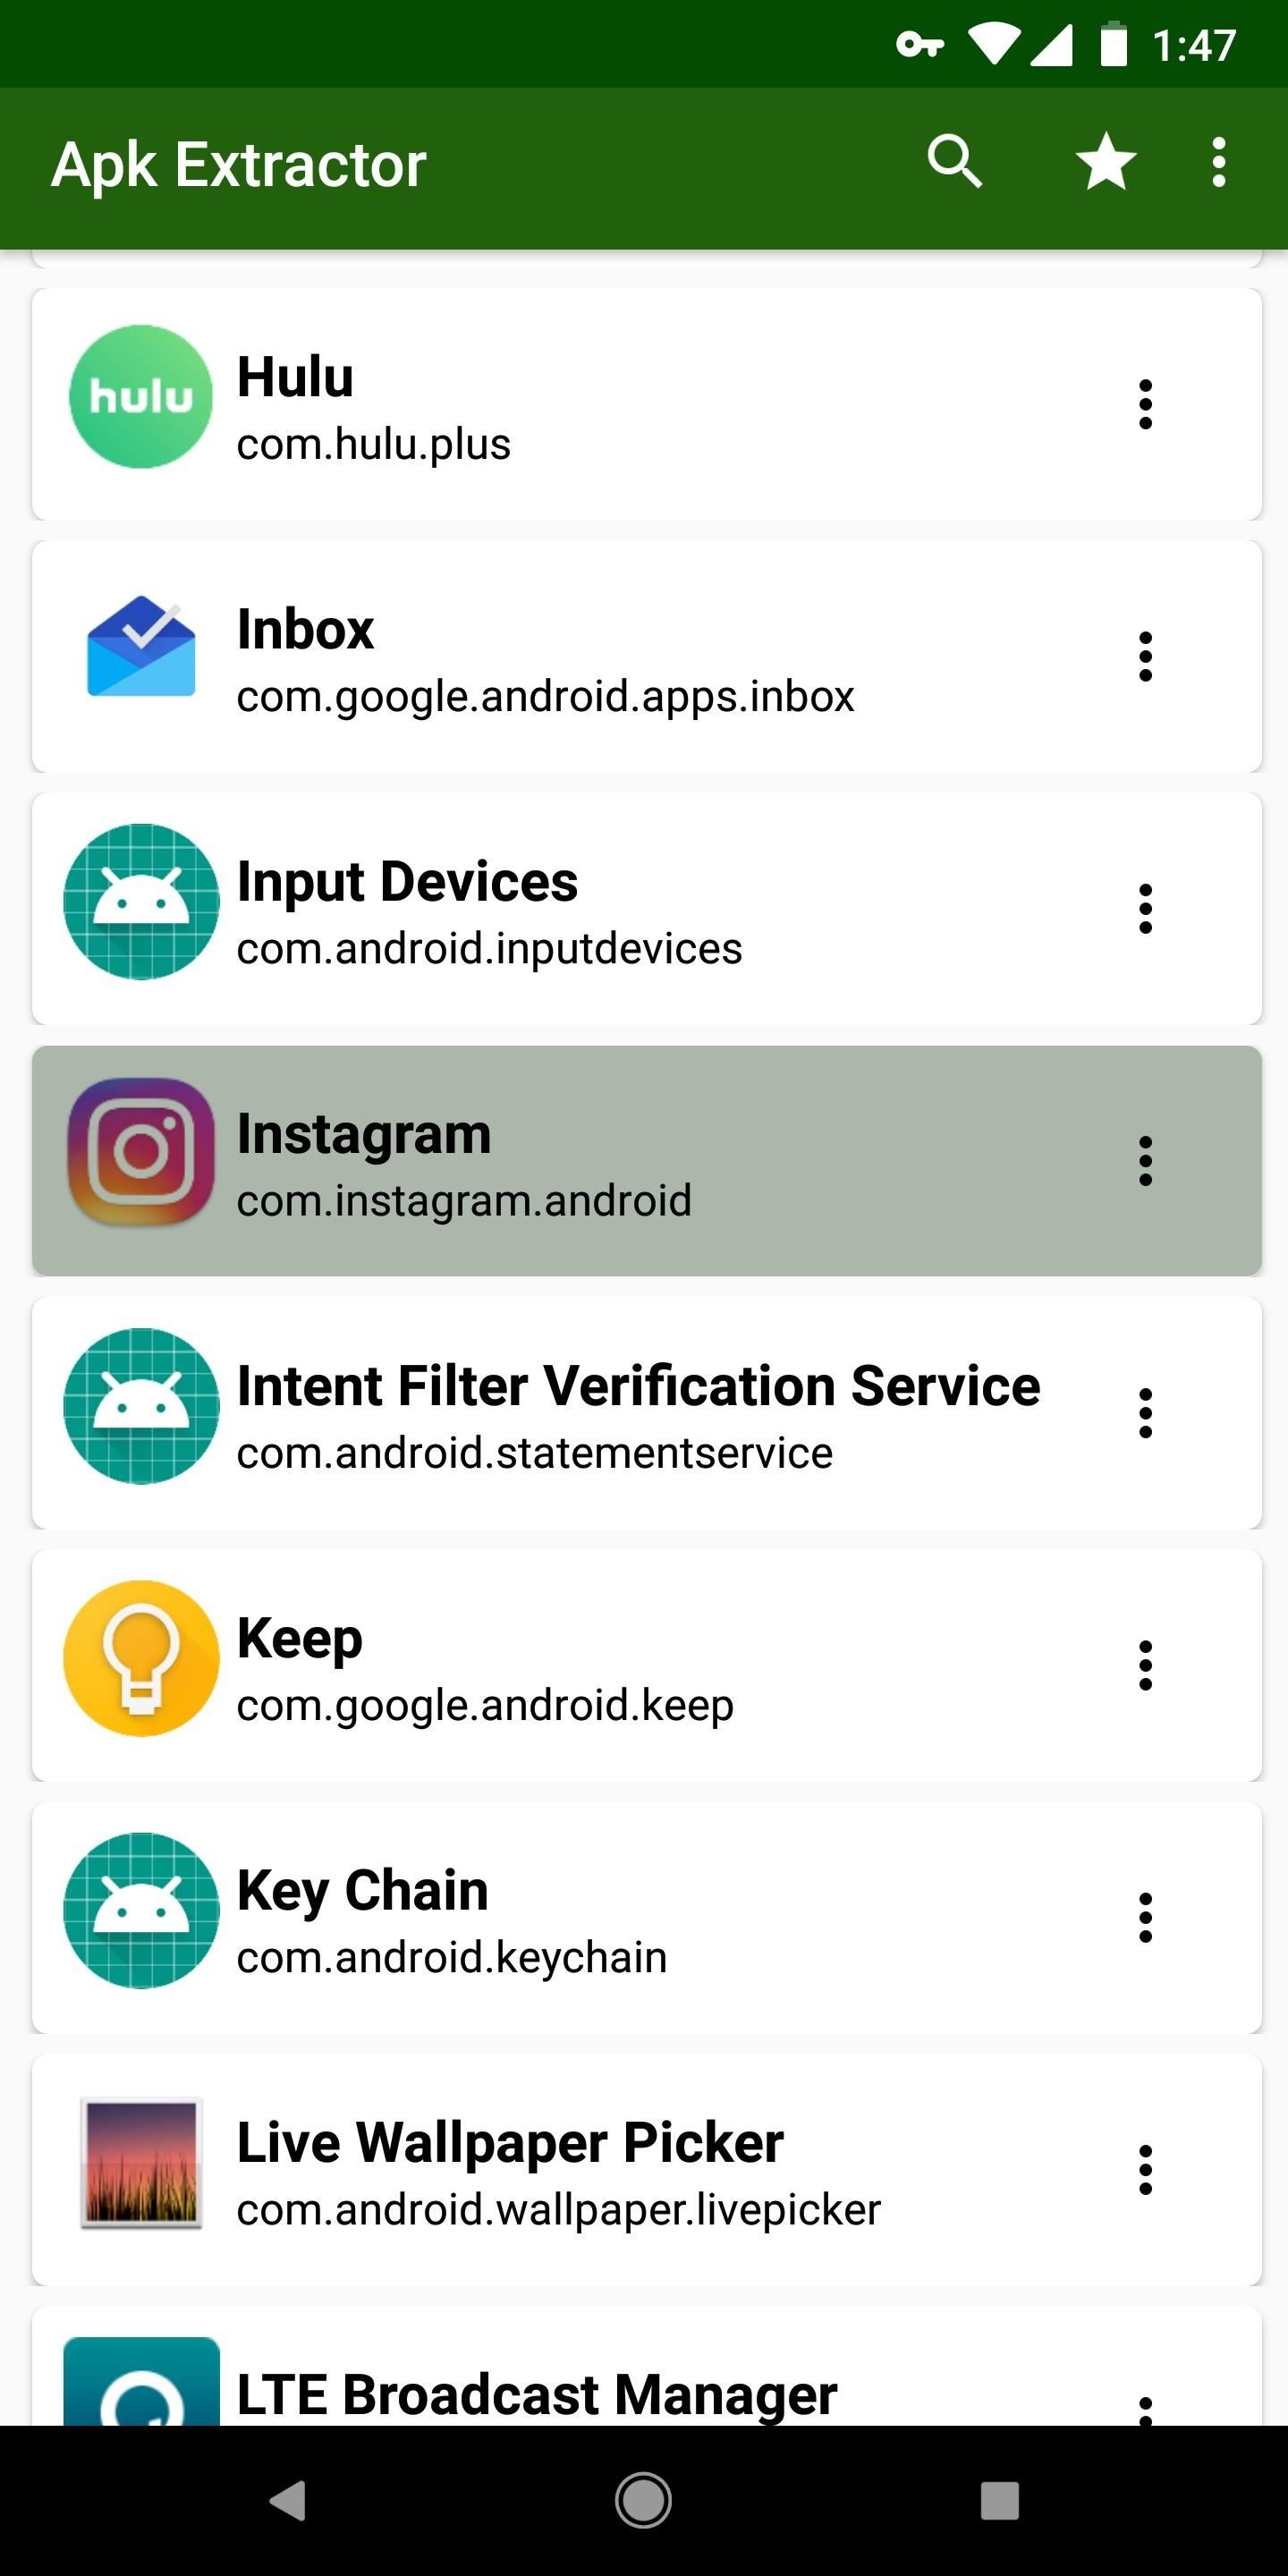
Following that, launch APK Extractor. Scroll down from the main screen and select the app you wish to prevent from updating. You'll almost certainly be prompted to grant the app access to your device's storage, in which case tap "Allow" on the popup. Then, select the application you wish to prevent from updating (again), and the application will extract its APK file.


Step 4: Re-sign the APK
Following that, launch the APK Signer application and tap "Choose In/Out." Open the ExtractedApks folder from there and then select the app you extracted in Step 3.


After the APK has been queued, leave all of the options selected and tap "Sign the file" near the bottom of the screen. The signing process may take up to one minute, but once complete, you're done with the APK Signer app.


Step 5: Uninstall the Official Application
Following that, you'll need to uninstall the current version of the app. This version bears the developer's official signature, which means that your custom-signed version will not overwrite the existing app. Uninstall an app by long-pressing its icon and selecting "Uninstall," or by long-pressing and dragging it to the "Uninstall" option at the top of your home screen.


Step 6: Sideload the Signed Application
Following that, navigate to the ExtractedApks folder on your internal storage partition using any file browser app. You'll notice two APKs here — one is the original from Step 3, and the other is the signed version from Step 4. Because the names will be very similar, double-check that you're installing the correct one by long pressing it and selecting "Rename." Ascertain that the APK file's name includes the term "signed." If not, verify the other APK.


When you're certain you've located the signed APK, enable Unknown Sources. Simply tap the file to open it, and you'll be prompted to install the app's custom-signed version. "Install" and then "Open" are the appropriate buttons.


Step 7: Receive Automatic Updates
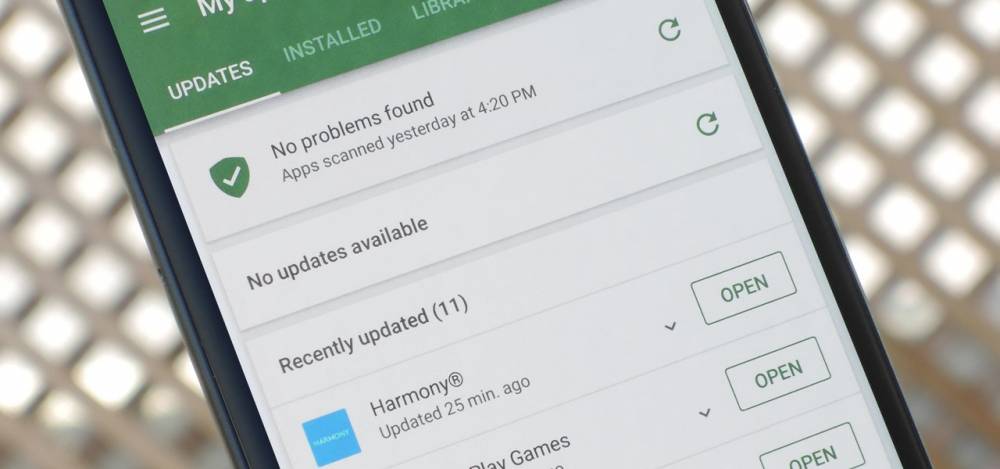
Finally, navigate to your Play Store app's "My Apps" section. If everything went smoothly, you'll notice that no updates are available — even if you're running an older version of the app. You can now tap the "Update All" button as often as you want, but your modified APK will not be updated. Additionally, you can enable automatic updates if desired!

This works because you applied a unique signature to the APK in Step 4. Android uses signatures as a security measure to prevent malicious developers from impersonating other apps. Android will refuse to install an update if the signatures of two APKs do not match, even if everything else is identical.
The only way to install an update to an existing app is if the signature matches the original, and only the original developer can create matching signatures. Thus, by signing the APK with your own custom signature, you've effectively fooled the Play Store into believing you no longer have that specific app installed, thereby disabling updates.

