
How To Resolve Issues With Windows 10 Sleep Mode
How To Resolve Issues With Windows 10's Sleep Mode
Numerous users have reported their desktops going into Sleep mode while they are working on them. While others have difficulty putting it to sleep. We are all aware of how it conserves energy and maintains work while in Sleep Mode. However, the issue arises when this mode fails and we are left unsure of what to do.
Today, we'll look at how to fix Windows 10's Sleep Mode. Numerous factors influence the settings on Windows 10. Both software and hardware can contribute to the erroneous operation of Windows 10's sleep mode. And we're about to discuss each of them in detail in the article, along with possible solutions.
Sleep Mode Settings
When you become aware of a problem with the PC's settings, it's a good idea to check the sleep mode settings. It's located in the Start menu's Settings>System>Power and Sleep submenu.
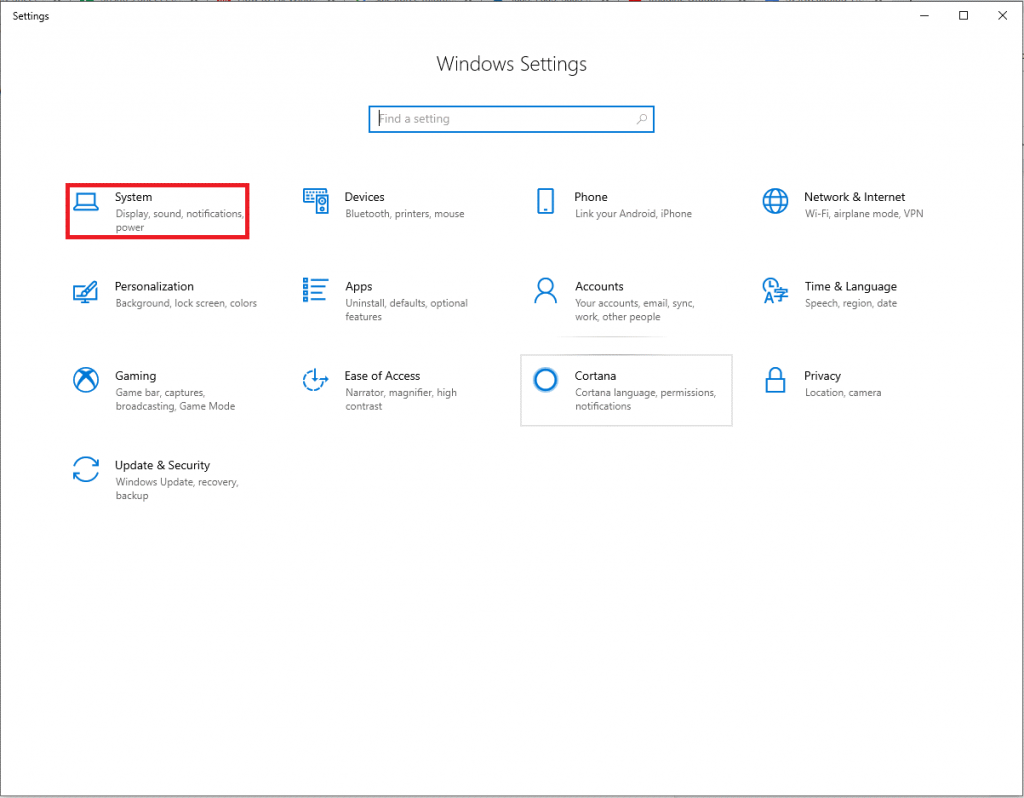
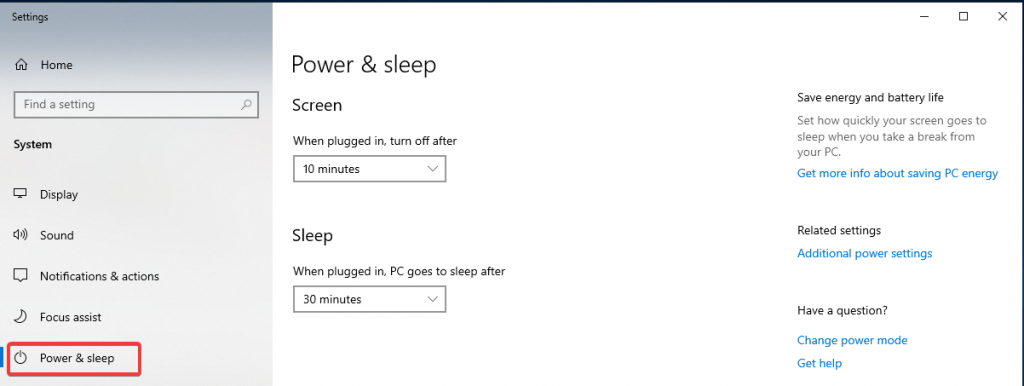
When you open the Power and Sleep Mode settings, you'll notice two options: screen and sleep. The screen timer can be set to one minute to ensure that the device never enters sleep mode following inactivity. This will only turn off the screen; applications will continue to run in the background. Another is sleep, in which the system goes to sleep after a predetermined period of inactivity.
Restore Plan in Power Settings
To revert to the previous plan in the Power settings, navigate to Start>Settings>System->Power and Sleep.

Select Advanced Power Configuration. Now you can "Choose the function of the Power buttons."
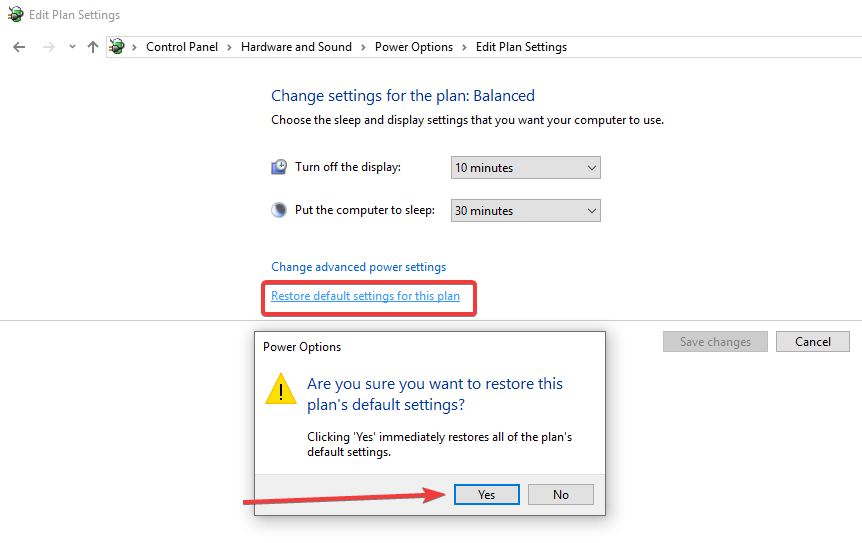
If you notice that the settings have changed, you can return to "Restore default settings for this plan." This will apply the changes and halt further modifications in order to restore the default settings. Alternatively, you can use the changes to your advantage by altering the time.
Update The System
You may wish to update your system in order for Sleep mode to function properly. This is critical because sometimes we miss updates and the resulting consequences jeopardize our normal work lives.
Updates can be found in Settings> Update & Security> Keep an eye out for updates.
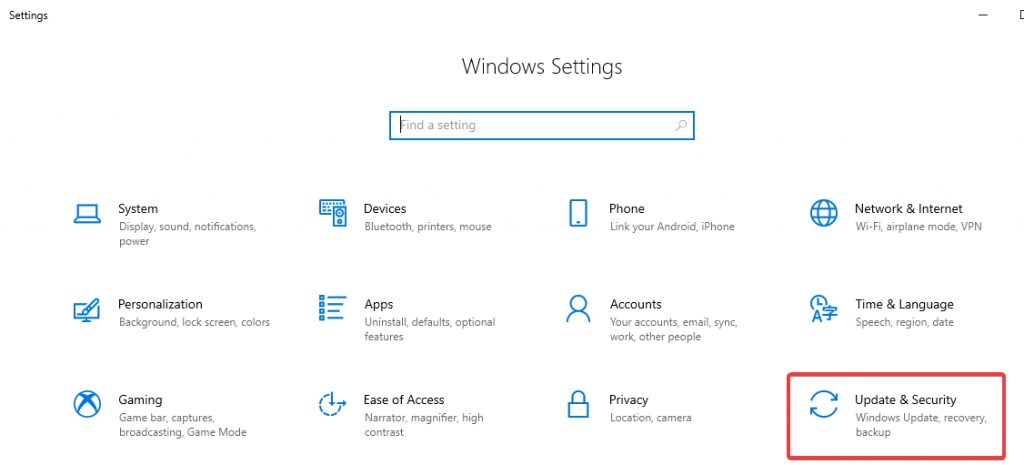
After you click it, it begins checking for any available updates and then initiates the download.
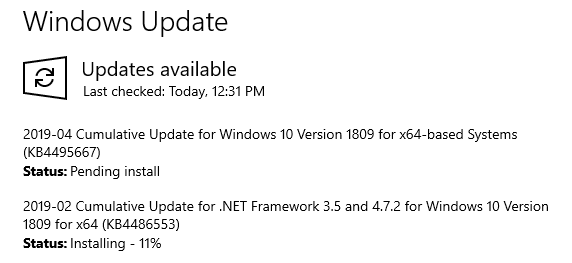
After the download is complete, you will be prompted to restart the computer.
Disable Theme
Yes, your favorite theme can occasionally be the culprit, but you can simply reset the settings to default. This has been beneficial to a large number of users.
Examine Your Screensaver
From the Start Menu, navigate to the Screen saver settings and select "None." Now that your System has no screen saver, the issue of going to sleep mode can be resolved.
Examine Any Attached Devices
Peripheral devices connected to the computer may cause the System to wake from sleep mode. Printers, scanners, webcams, and gaming consoles are all examples of devices that could be causing your system's Sleep mode to fail to function properly. Simply unplug any of these devices and check to see if the problem persists. If yes, you can check for updates by visiting the device's online manual. It is possible that some will not work properly with the latest Windows 10 versions.
Conduct a System Scan
You may need to run a system scan, as there is a good chance that some entity has corrupted your power settings. This is why you have been unable to resolve the issue using manual methods up to this point. To investigate this issue, you must first install a reliable anti-malware program on your system.
Conduct a scan; this will eliminate all viruses and restore the cleanliness of your Desktop.
Drivers' Issues
If Sleep mode continues to fail to work, the cause could be outdated drivers that are incompatible with the latest version of Windows 10. You can update your drivers by performing a troubleshooting procedure on each one. Specifically, the BIOS, network, and chipset drivers must be kept up to date at all times to ensure the smooth operation of the System.
To access the driver manager, navigate to Start> Search> Device Manager.
Now, click Update Driver, which will take you to the option of manually updating it or visiting the online links.
However, this process requires you to do so for each driver individually. Additionally, it will take a significant amount of time; assistance, such as hiring a third-party software to perform this task for you, may be beneficial.
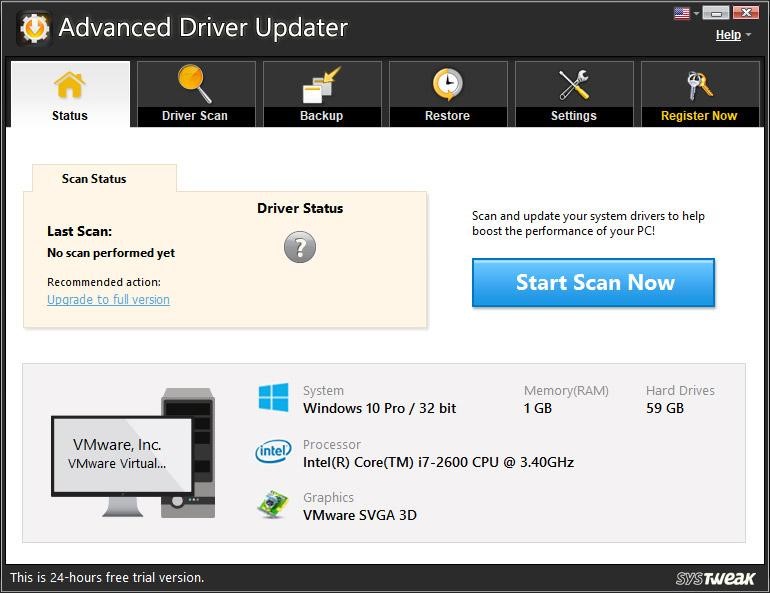
Advanced Driver Updater is a recommended tool for updating your system's drivers. This is a piece of software that will scan your system for outdated drivers and download them from the internet. For the system to function normally, drivers such as graphics and sound are required to be updated. Additionally, you can avoid the hassle of manually updating each driver with the help of this tool. Simply install and activate the tool, and it will automatically scan for and download the latest driver updates.
Check For Last Wake Events
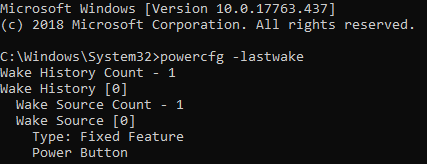
Certain applications may cause the System to wake up in an inconsistent manner while in Sleep mode. This is not what we expect from them, and so we adjust the settings accordingly. However, we must first determine who is altering the Power settings. To determine the duration of this event, open the Administrator Command Prompt and type "powercfg -lastwake". To access it, navigate to Start Menu> Search> Command Prompt, right-click on it, and choose Run as administrator.
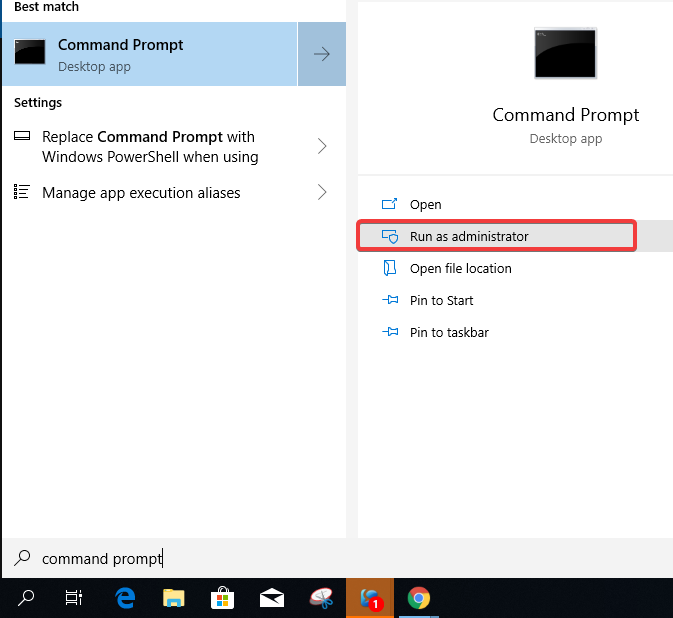
Note: These commands are only effective when issued by an Administrator.
Additionally, when you enter the command "powercfg -devicequery wake armed" in the Command Prompt. This displays a list of all the devices that are capable of waking up the System.

After viewing the names, navigate to the Device Manager and search for your devices.
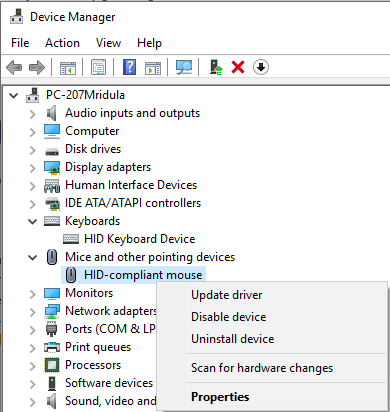
To access Device Manager, navigate to Start>Search>Device Manager. Select the device and click Properties to make the necessary changes to prevent it from interfering with Sleep mode.
For instance, the mouse is depicted as the device that awakens the device on our behalf. Thus, by right-clicking on the Mouse, we can access its Properties, which will reveal the power management.
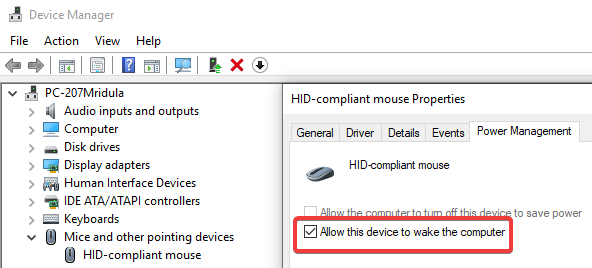
You must uncheck the "Allow this device to wake the computer" check box.
Power Troubleshooter
This can be used to reset the Power plan settings if one of the features is not working properly. To access the Power Troubleshooter, navigate to Settings->Update and Security->Troubleshoot from the Start Menu. To run the troubleshooter, click on "Power" in the "Find and fix other problems" section. It will check for any additional steps that need to be taken to resolve the Sleep mode issue.
Service Your Computer
If the reasons for the failure remain unclear after attempting all of the above, it's time to run a full scan of your system for hardware failure. This could be due to your system overheating and entering sleep mode, or it could be due to depleted battery life. You can always have your system inspected by a technician to ensure that everything is functioning properly.
In Conclusion
The issue affects a large number of users, and as a result, you may wish to learn how to fix the Sleep Mode on Windows 10 on your own. There is a possibility that the issue is internal to your system, and you need not worry because it can be resolved. Either a peripheral device is interfering with your system's sleep mode, or malware has begun corrupting system files. Whichever reason exists, each of the problems has a solution.
Source: WTG

