How To Set Up Two-Factor Authentication For SSH In Linux
How to Set Up Two-Factor Authentication for SSH in Linux
SSH stands for Secure Shell. It is a cryptographic network protocol that enables secure access to devices over an unsecured network. It has a variety of applications, including remote login, remote command-line access, and remote command execution.
If you've ever used SSH, you're already aware that it uses a single-factor authentication mechanism that requires either an SSH key or a password. While this may not appear alarming at first glance, it does expose the system to a number of open-ended vulnerabilities.
As a result, it is frequently recommended to enable two-factor authentication (2FA) for SSH in order to increase its security. We will discuss two-factor authentication in detail in this article, as well as provide a comprehensive guide on how to enable 2FA for SSH.
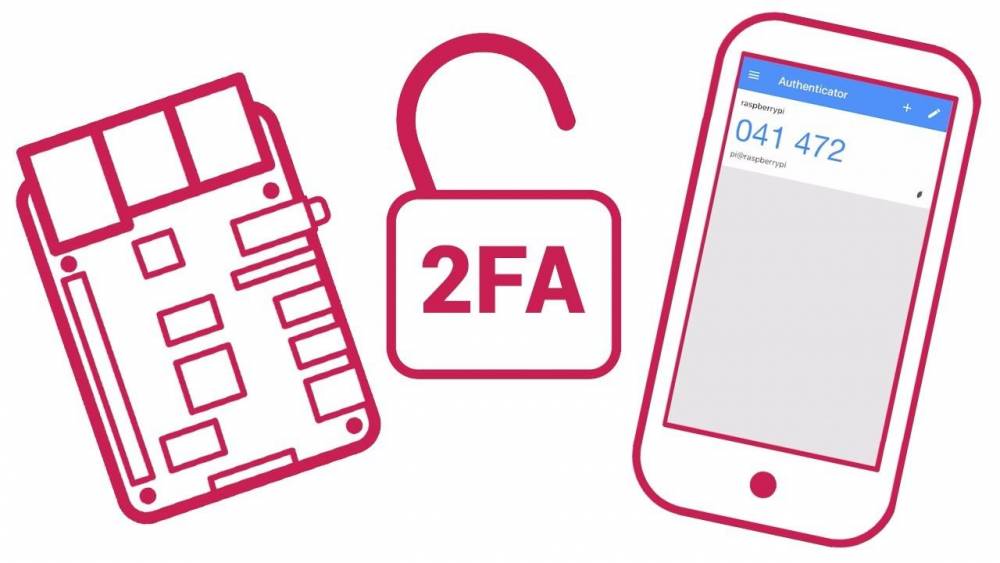
What Is Two-Factor Authentication?
Two-factor authentication, or 2FA, is a type of multi-factor authentication (MFA) that requires an additional factor of authentication to authenticate your login and protect your account from unauthorized access.
Consider 2FA as a verification code generated by a code generator app or a hardware token generator that you must enter after entering your password to gain access to your account.
When you create an account with any online service, you are required to create a password to protect it. This password serves as your initial authentication factor, and the service requires it each time you log in to your account.
Why Should You Enable 2FA for SSH?
By default, SSH authenticates you using either a public key or a password before connecting you to the other device/server.
By and large, this configuration works perfectly well, and you can get away with it in the majority of cases. However, when connecting to a device/server that contains sensitive or personal information via SSH, that system requires an additional layer of protection.
One way to accomplish this is to enable two-factor authentication on the server/host computer, which secures its SSH access and requires a second authentication factor for client login authentication.
As a result, even if an attacker obtains the client/password, host's they will be unable to connect to the system via SSH unless they also provide the 2FA code.
How to Set Up 2FA for SSH in Linux
Installing and configuring 2FA for SSH on Linux entails a series of steps. The following is a breakdown of each step to assist you in completing the process.
Prerequisites
It goes without saying that the system on which you wish to enable 2FA must have an SSH server program installed. To verify this, open a terminal and type the following:
ssh -V
Proceed to the next step if you already have an SSH server installed. If it is not already installed, run the following command to do so:
sudo apt install openssh-server
Verify that SSH is enabled on the system after the installation is complete. To do so, type:
sudo systemctl status ssh
You may proceed if your status indicates Active: active (running). However, if it does not, enter the following command:
sudo systemctl enable ssh
In some cases, the firewall configuration may conflict with SSH, in which case you may need to run the following command to enable the SSH server on your system.
sudo ufw allow ssh
Step 1: Installing Google Authenticator PAM
After installing the OpenSSH server on your host machine, the first step is to install a Pluggable Authentication Module (PAM), which provides the infrastructure necessary to integrate multi-factor authentication for SSH in Linux.
Google Authenticator PAM is the most popular option in this case due to its ease of implementation and use in comparison to other authentication modules. It provides all of the infrastructure necessary for users to be authenticated using Time-based One-time Password (TOTP) codes, as well as code generator apps for Android and iOS.
Open a terminal window and type the following command to install Google Authenticator PAM:
sudo apt install libpam-google-authenticator
To confirm the installation, type y at the installation prompt.
Step 2: Configuring SSH
After installing Google Authenticator PAM on your system, it's time to configure SSH to use this module for authentication. This requires editing a few configuration files.
We recommend creating a backup of these files to avoid any issues that may arise during the process. Once completed, proceed with the following steps:
1. Using nano, open the PAM configuration file. You may substitute any other Linux text editor.
sudo nano /etc/pam.d/sshd
2. Add the following line to the end of the file.
auth required pam_google_authenticator.so
3. Save your work and close the file editing window.
4. Utilize systemctl to restart the sshd service.
sudo systemctl restart sshd.service
Following that, edit the SSH configuration file, which is used to configure SSH.
1. Use nano to open the file.
sudo nano /etc/ssh/sshd_config
2. Change the status of the line ChallengeResponseAuthentication no from "no" to "yes" in this file. This instructs SSH to request an authentication code from any user attempting to log in to the system.
3. Restart the SSH daemon after saving the file.
sudo systemctl restart sshd.service
Step 3: Configuring Authenticator on Linux
After installing and configuring SSH, the next step is to configure Google Authenticator to generate TOTP codes.
To do so, open the terminal and type the following command to start Google Authenticator:
google-authenticator
Google Authenticator will now display a series of questions to you. Answer these questions affirmatively (y) or negatively (n) (n). Unless you select a non-default option, the default answer to the majority of questions is yes.
The following is a condensed list of the questions that the app will ask you:
• Time-based authentication tokens (y/n): y
• Update the file "/.google authenticator" (yes/n): y
• Is it possible to prohibit multiple uses of the same authentication token? y
• Increase the frequency of code generation (y/n): n
• Allow for rate limiting (y/n): y
Step 4: Configuring Authenticator on Phone
Google PAM will generate a QR code on your screen along with a secret key and a few recovery codes as soon as you answer yes to the first Google Authentication question. To register Google Authenticator on your phone, follow the steps below.
However, you must first download and install the Google Authenticator app on your smartphone.
1. Select Scan a code from the menu options by clicking on the Plus (+) sign.
2. Simply point your device's camera at the QR code displayed on your computer screen to create an entry in the app.
3. Alternatively, from the Plus (+) menu, select Enter a setup key and complete the required entries. To do so, first give your entry a name — it should be easily recognizable — and then type the secret key displayed beneath the QR code on your screen.
4. Finally, tap Add to add the entry to the database.
As a precaution, copy and save all of the recovery codes displayed beneath the QR code. You may require them if you are unable to access Google Authenticator on your phone or if you lose access to it.
Securing SSH Access on Linux With 2FA
If you followed the instructions above correctly, two-factor authentication for SSH should now be enabled on your Linux system.
Now, whenever you attempt to access this server/device via SSH, you must first enter the SSH password (first factor) and then the TOTP code (second factor) from the Google Authenticator app. This is an excellent way to manage and secure your remote SSH logins against internet intruders.

