
How To Edit A Zoom Recording On IMovie
The steps outlined below will walk you through the process of editing your Zoom recording in iMovie, from beginning to end.
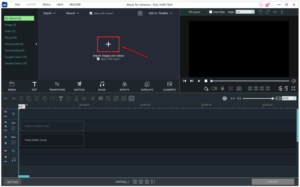
1. Launch the iMovie application and select the plus sign (+). Select Movie from the drop-down menu options.
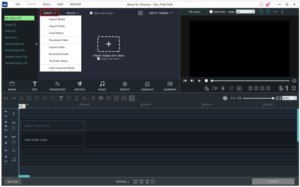
2. Select Import from the drop-down menu at the top of the screen. Select the Zoom meeting that you want to make changes to.
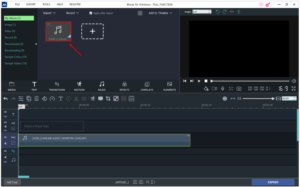
3. Choose the recording you want to import and then click Import Selected.
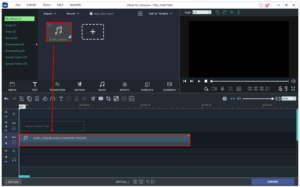
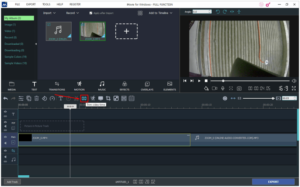
4. Move the recording into the project timeline section in order to make editing functions available.
5. If you want to change the beginning and ending points of your recording, simply drag them to the desired locations.
6. You can also use themes, as well as titles and transitions, to further personalize your video. Changing your project's theme can be accomplished by selecting Settings from the top-right corner of your project timeline and then selecting Themes. Change the theme by selecting it from the drop-down menu.
7. Furthermore, you have the option of filtering the recording by going to Settings > Filter > and then selecting the desired filter.
8. When you're finished, select File from the Share drop-down menu that appears.
9. A number of parameters, including compression type, quality, resolution, format, and title, can be customized in this section.
10. When you're finished, click Next and then browse to the location where you want the file to be saved and click Save. Last but not least, click the Save button.
When the recording is finished, it will appear in the directory where it was originally saved.

