How To Fix “Laptop Keeps Disconnecting From Wifi”
How to Fix “Laptop Keeps Disconnecting From Wifi”
Have you recently acquired a new laptop and are having problems with the Wi-Fi? Your phone connects without issue, but not your laptop. Is your new laptop already defective?
The simplest way is to first turn off the Wi-Fi. Alternatively, select 'forget network'. Reconnect and check to see if that worked. If not, perform a network driver update. If nothing of those solutions works, we'll need to dig deeper into why the issue continues to occur.
Continue reading if your laptop's Wi-Fi keeps disconnecting you from the internet for no apparent reason.
How to Fix “Laptop Keeps Disconnecting From Wifi” in Windows/Mac/Linux
Troubleshoot Hardware
1. Connect to a different Wi-Fi network and check to see whether the issue persists.
2. If the answer is yes, the wireless adapter hardware is defective and must be replaced by a qualified technician.
3. If not, the hardware adapter is acceptable. Connect another device to the same Wi-Fi hotspot and check to see whether the issue persists.
4. If the wireless connection continues to drop, the wireless router is defective and requires additional investigation.
5. In the absence of a wired router, a wireless router will suffice. Proceed to the next step.
6. Connect a USB Wi-Fi adapter and check to see if the issue recurs. You can utilize a gadget similar to the one depicted below.

7. If the problem persists, the laptop's operating system is defective, and you must reinstall it.
8. If this is not the case, continue to the troubleshooting steps below.
Disable Power Saving for the Network Adapter
For Windows:
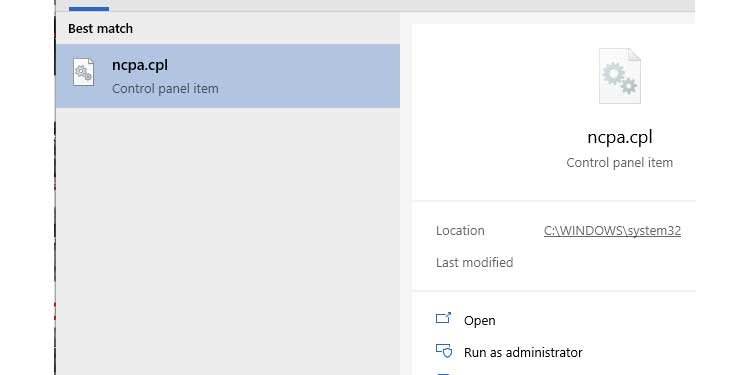
1. To bring up all network connections, navigate to the Start Menu and type ncpa.cpl.
2. Locate and right-click on your Wi-Fi adaptor.
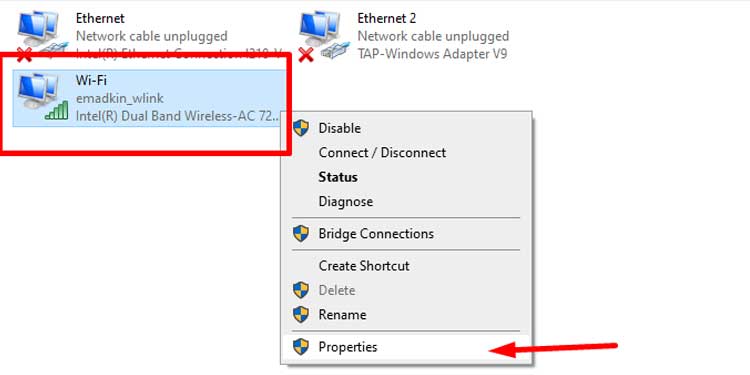
3. To open a new Properties window, click on Properties.
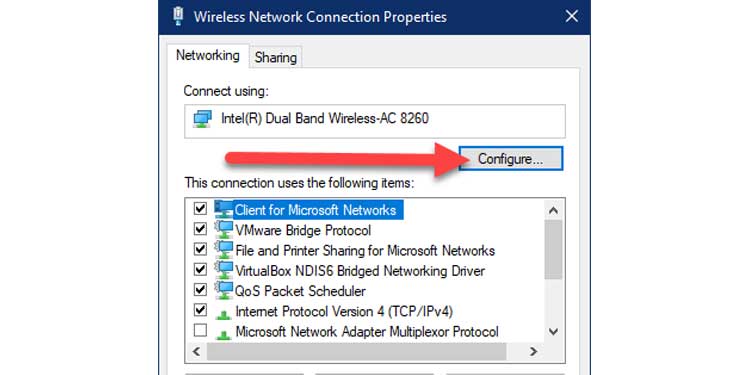
4. To open the Configuration window, click the Configure button.
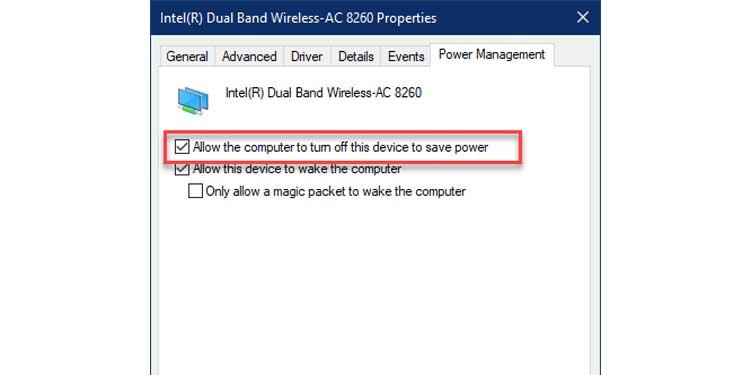
5. Select the Power Management option. Allow the computer to turn off this device to conserve power is unchecked.
6. Click the OK button.

Additionally, in some circumstances, adjusting the Scan Valid Interval to "120" helps. To do so, navigate to the Advanced tab, then pick "Scan Valid Interval" and set it to 120.
For Ubuntu(or Ubuntu-based Linux):
1. Launch the terminal.
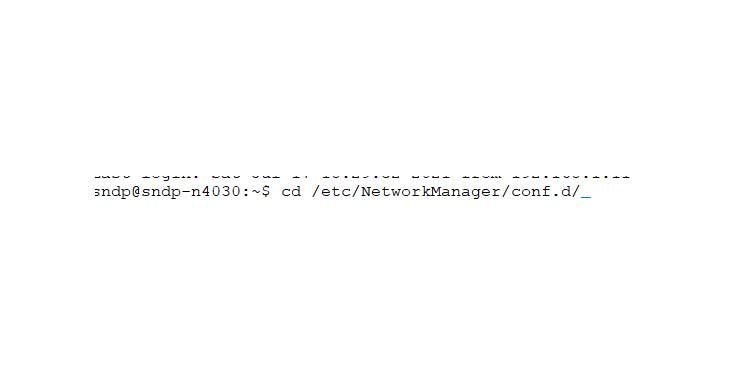
2. Run the following command: cd /etc/NetworkManager/conf.d
This program navigates to the configuration directory for network management.
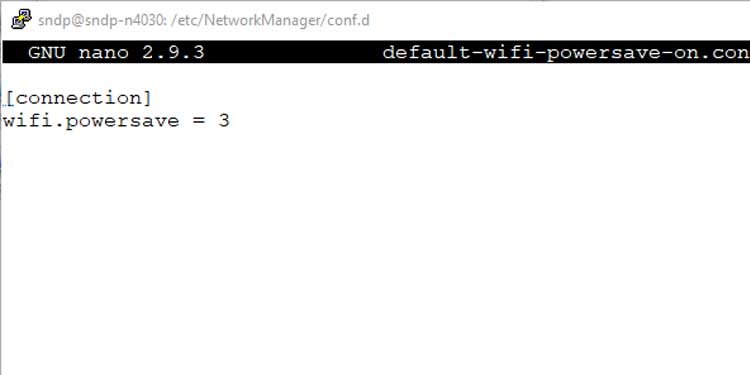
3. Now, in the nano text editor, open the power save configuration file. Enter:
sudo nano default-wifi-powersave-on.conf
4. Next, navigate to the wifi.powersave config and adjust the value to 2, which disables power saving mode.
5. To save the configuration file, press Ctrl + X and Y.
6. Finally, using systemctl, restart the network management.
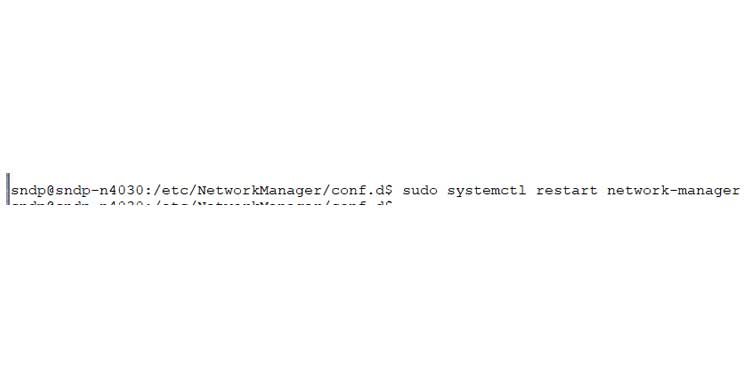
Sudo systemctl restart network-manager
For MacOS
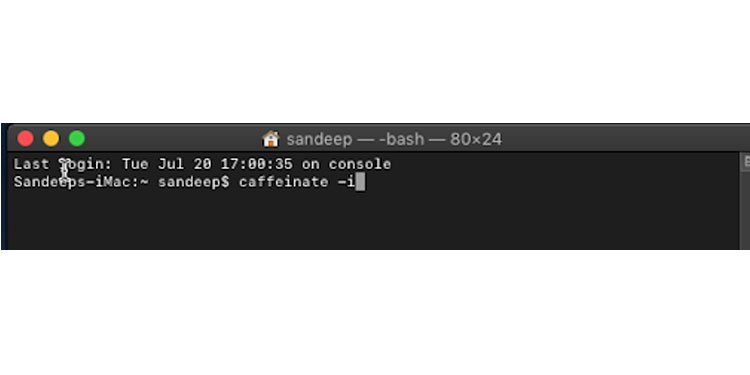
1. Launch the terminal.
2. In the terminal, type the following command.
Caffeinate -i
It prevents the system from falling into an idle state of sleep.
3. To prevent the machine from sleeping when it is powered by AC power, use the following command:
Caffeinate –s

Utilize the Troubleshooter (Windows Only)
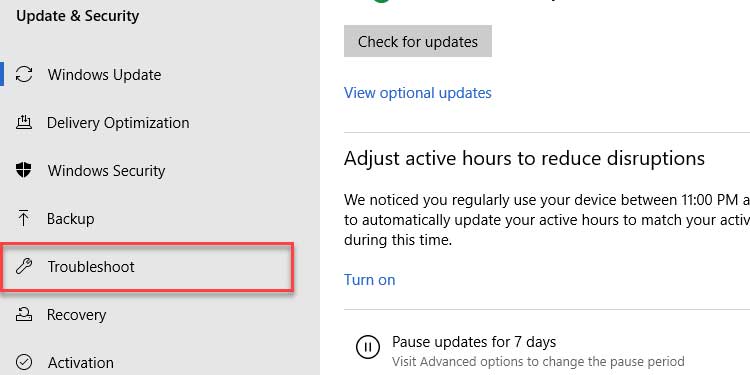
To open the Windows Update settings window, navigate to the Start Menu and type update.
2. On the left navigation pane, click Troubleshoot.
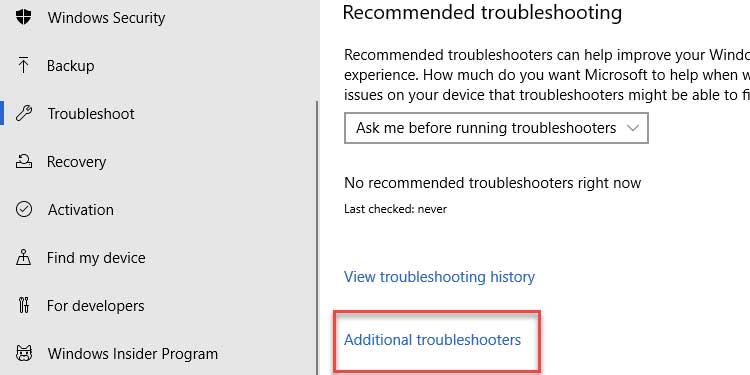
3. If Windows identifies a problem, it should display on the list; if not, proceed to step 6.
4. Select Additional troubleshooters from the menu.
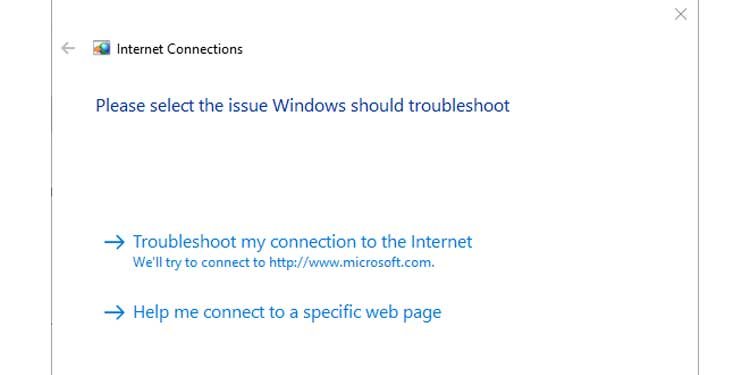
5. Internet Connections is an option under Get up and going.
It should be tapped.
6. To open the troubleshooter wizard, click on Run the troubleshooter.

7. Click Next and wait for the PC to automatically discover and resolve the WiFi issue.
Reset TCP/IP Configuration Settings
For Windows
1. From the Start Menu, type cmd. Select Run as Administrator by right-clicking on the matched option.
2. Type in the command window
Netsh winsock reset
(To switch to the winsock context and reset)
3. To fix the TCP/IP stack and save the resulting log files to c:resetlog.txt.
Netsh int ip reset c:\resetlog.txt
4. Restart your computer.
For Ubuntu (or Ubuntu-based Linux)
1. Launch the terminal.
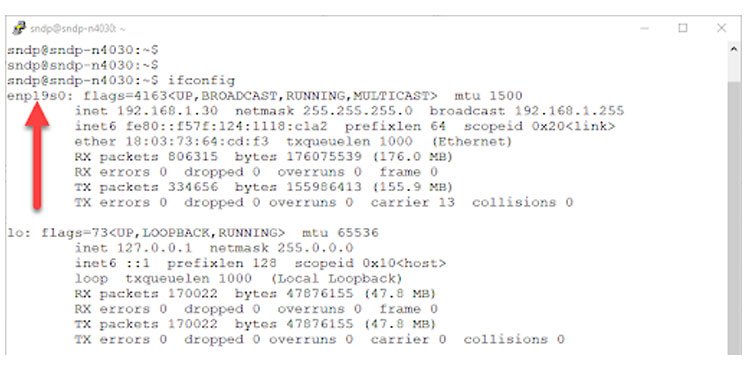
2. To jot down the adapter's name. In the terminal, enter the following:
Ifconfig
enp19s0 is the name of the adapter in this case.
3. To proceed to the network setup settings, click on the following link:
Cd /etc/netplan
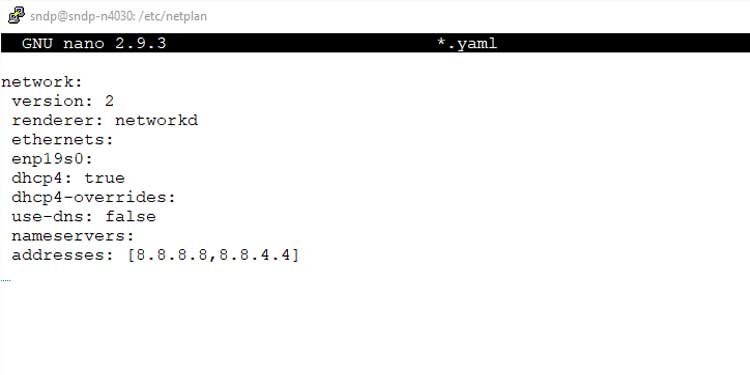
4. To open a YAML configuration file in the nano text editor, follow these steps:
sudo nano *.yaml
5. Verify that the current configuration option looks like this. enp19s0 is the name of the network adapter from step 2.
6. Click Save and Exit.
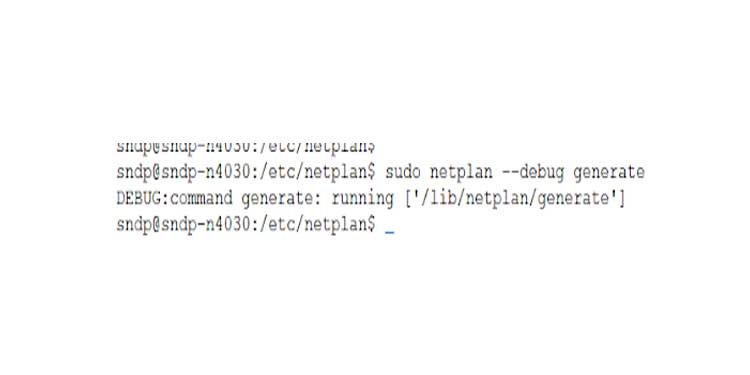
7. To create new configuration files:
Sudo netplan --debug generate
8. Finally, to configure the network:
Sudo netplan apply
9. Reboot the system.
For MacOS
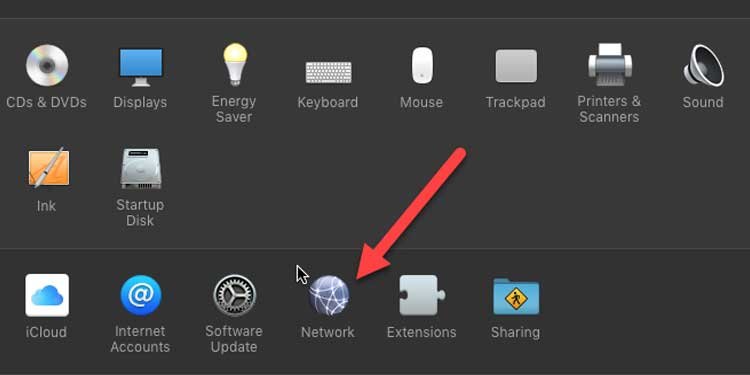
1. Navigate to the Apple Menu and select System Preferences.

2. Select Network.
3. Select Advanced.
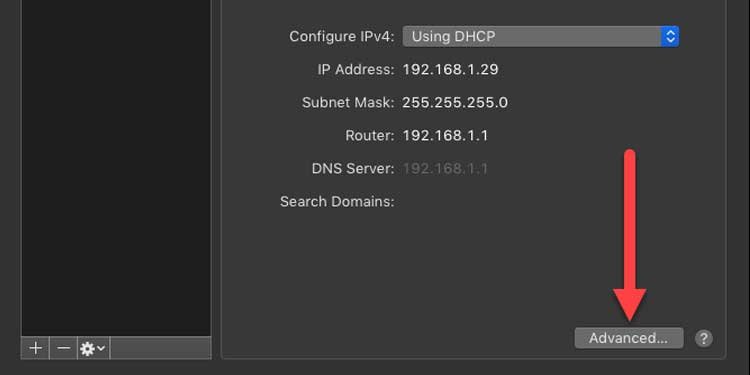
4. Select the Renew DHCP Lease option.
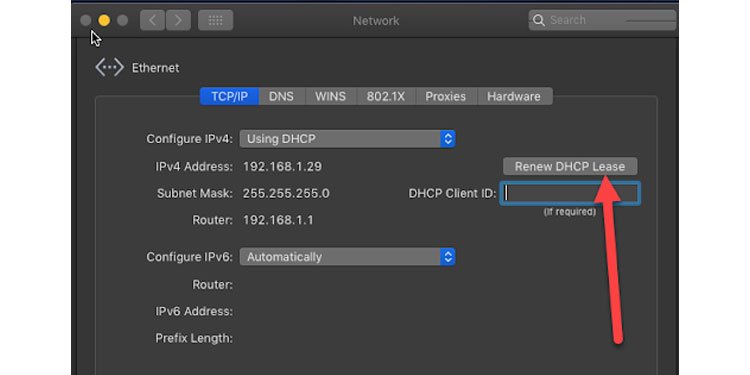
5. Click the OK button to quit.
Switch Network Profile(Windows Only)
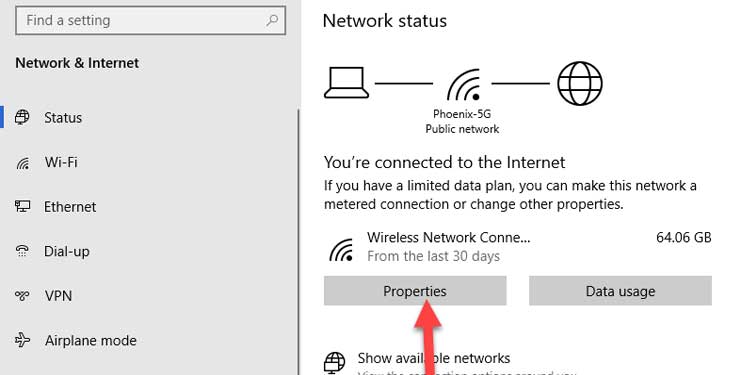
1. To open the Network Status window, navigate to the Start Menu and type network status.
2. Select Properties from the Wireless Network Connection menu.
3. Change the Network profile of the presently connected Wi-Fi hotspot from Public to Private.
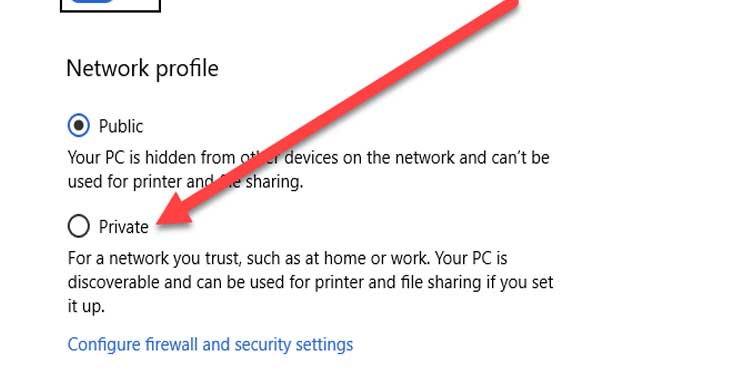
4. Shut the window completely.
Reset Wi-Fi AutoConfig Service (Windows Only)
1. Navigate to the Start Menu and enter services.msc to display a list of currently running Windows services.
2. Double-click the service name WLAN AutoConfig to open the Properties box.

3. In the General section, select Automatic for the Startup type.

4. To save, click Apply and OK.
Update Device Driver
For Windows
1. From the Start Menu, right-click and select Device Manager.
2. Right-click on the name of your wireless adapter under Network adapters.

3. To open the driver update wizard, click on the Update driver button.
4. Select Automatically search for drivers.

5. Wait a few moments while Windows automatically upgrades your driver.
For Ubuntu(or Ubuntu-based Linux)
1. Launch Terminal.
2. To refresh the list of available package sources, enter:
Sudo apt-get update
3. Enter the following command to upgrade all packages and replace any missing device driver packages:
Sudo apt-get upgrade --y --fix-missing
For macOS
1. Select App Store from the Apple Menu.
2. Select Updates from the left navigation window.

3. Select Update All if any updates are pending. After updating all apps, you should see something similar to this.

Restart Devices
If nothing else works, the best course of action is to reboot your laptop. Additionally, you can reset your router if feasible. Most likely, your Wi-Fi will reconnect after a fresh restart.
Generate Report(Optional)
Windows includes an excellent option for creating Wi-Fi network reports. While this is not a remedy in the strictest sense, it will aid in determining what is wrong with the Wi-Fi network adaptor. To produce a report,
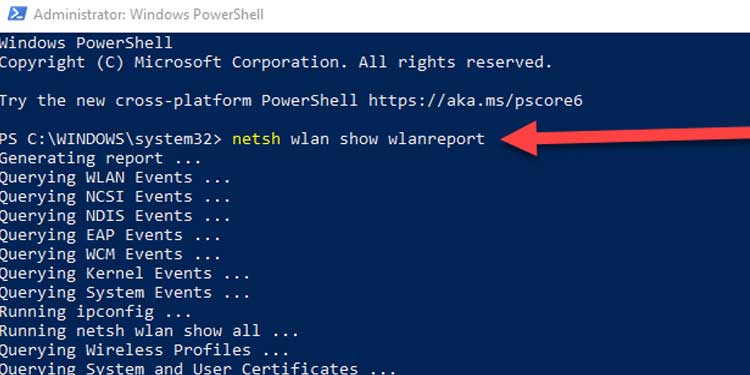
1. Switch to Administrator mode in Powershell.
2. To begin generating the report for wlan, enter the following:
netsh wlan show wlanreport.
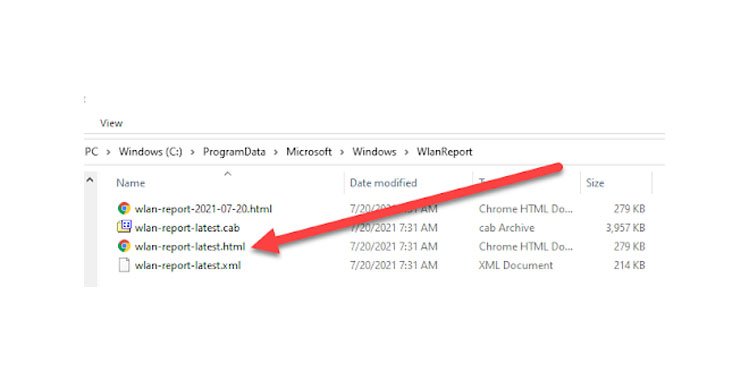
3. After the installation is complete, navigate to C:\ProgramData\Microsoft\Windows\WlanReport.
4. To open the report, double-click on wlan-report-latest.html.
5. The report should open in the browser of your choice.


